Squeezing a first visit to Norway into just two weeks was proving to be a real puzzle.
The routine of researching destinations and itinerary planning is a great form of escapism, almost like a virtual trip in itself. This time it sure had its challenges. Bergen was a definite choice for a city stay, and the Lofoten Islands were pencilled in for the stunning landscape photography opportunities.
The biggest lure however was the chance to see the spellbinding Aurora Borealis. A more northerly latitude should maximise the chances of an encounter with the Green Lady, so a full week in Tromsø was locked into the itinerary. Lofoten would have to wait for another time.
Then came ten anxious months of waiting until mid-October. Surely this would be the right place at the right time to see the Northern Lights. A fair share of luck was still needed for clear skies – and even then, there were no guarantees.
The opportunity to photograph this natural spectacle was not to be taken for granted. I was sure to swot up on as much theory as possible so I could nail it first time.
Local knowledge is another story altogether. I do like my independence, but experience on dark, icy Arctic roads, ability to interpret local weather, and inside knowledge of the best vantage points don’t all come in a few days. The DIY approach was still a temptation, but the smart option this time was a guided bus tour to get started with some expert orientation.
The strategy was to delay the tour booking until closer weather forecasts were available. A few days out from arrival in Tromsø it was looking promising for clear night skies, so the tour date was booked in with fingers tightly crossed.
The plan for photography equipment was to travel light, keeping below 7kg in a carry-on bag; plus a carbon fibre tripod checked in. My weapon of choice for Northern Lights was the Zeiss Batis 18mm f/2.8 lens, a nice sharp option weighing in at just 330 grams. This would also be useful for daytime landscapes. I packed just one other lens, the Sony FE 24-105mm f/4.0, a light and versatile travel option at 663 grams. These were accompanied by the Sony A7RII mirrorless camera and plenty of spare batteries.
Night one in Tromsø
Still tired from travel and facing sub zero temperatures it was tempting to spend a snug night indoors. Extremely tempting in fact, but also unforgiveable, having travelled halfway around the world to get here, and with clear sky overhead.
It was time to rug up for a late excursion to the Fjellheisen cable car. This was after all the chance to sneak a glimpse of Lady Aurora before our serious date the following night.
The ascent to the lookout at Storsteinen was truly magical as the lights of Tromsø stretched out below, bright moonlight catching the snow-dusted peaks all around. It was already worth the ride for the panoramic view alone.
After a very short wait on the icy platform an unusual wispy cloud appeared, right out of nowhere. Surely not already? It couldn’t possibly be this easy. Then it flickered around, and sure enough there were signs of a light green arc forming overhead. The green lady had indeed come to the party.
I snapped into photography mode, putting theory into practice as the lights became more active and danced overhead for the next half hour.
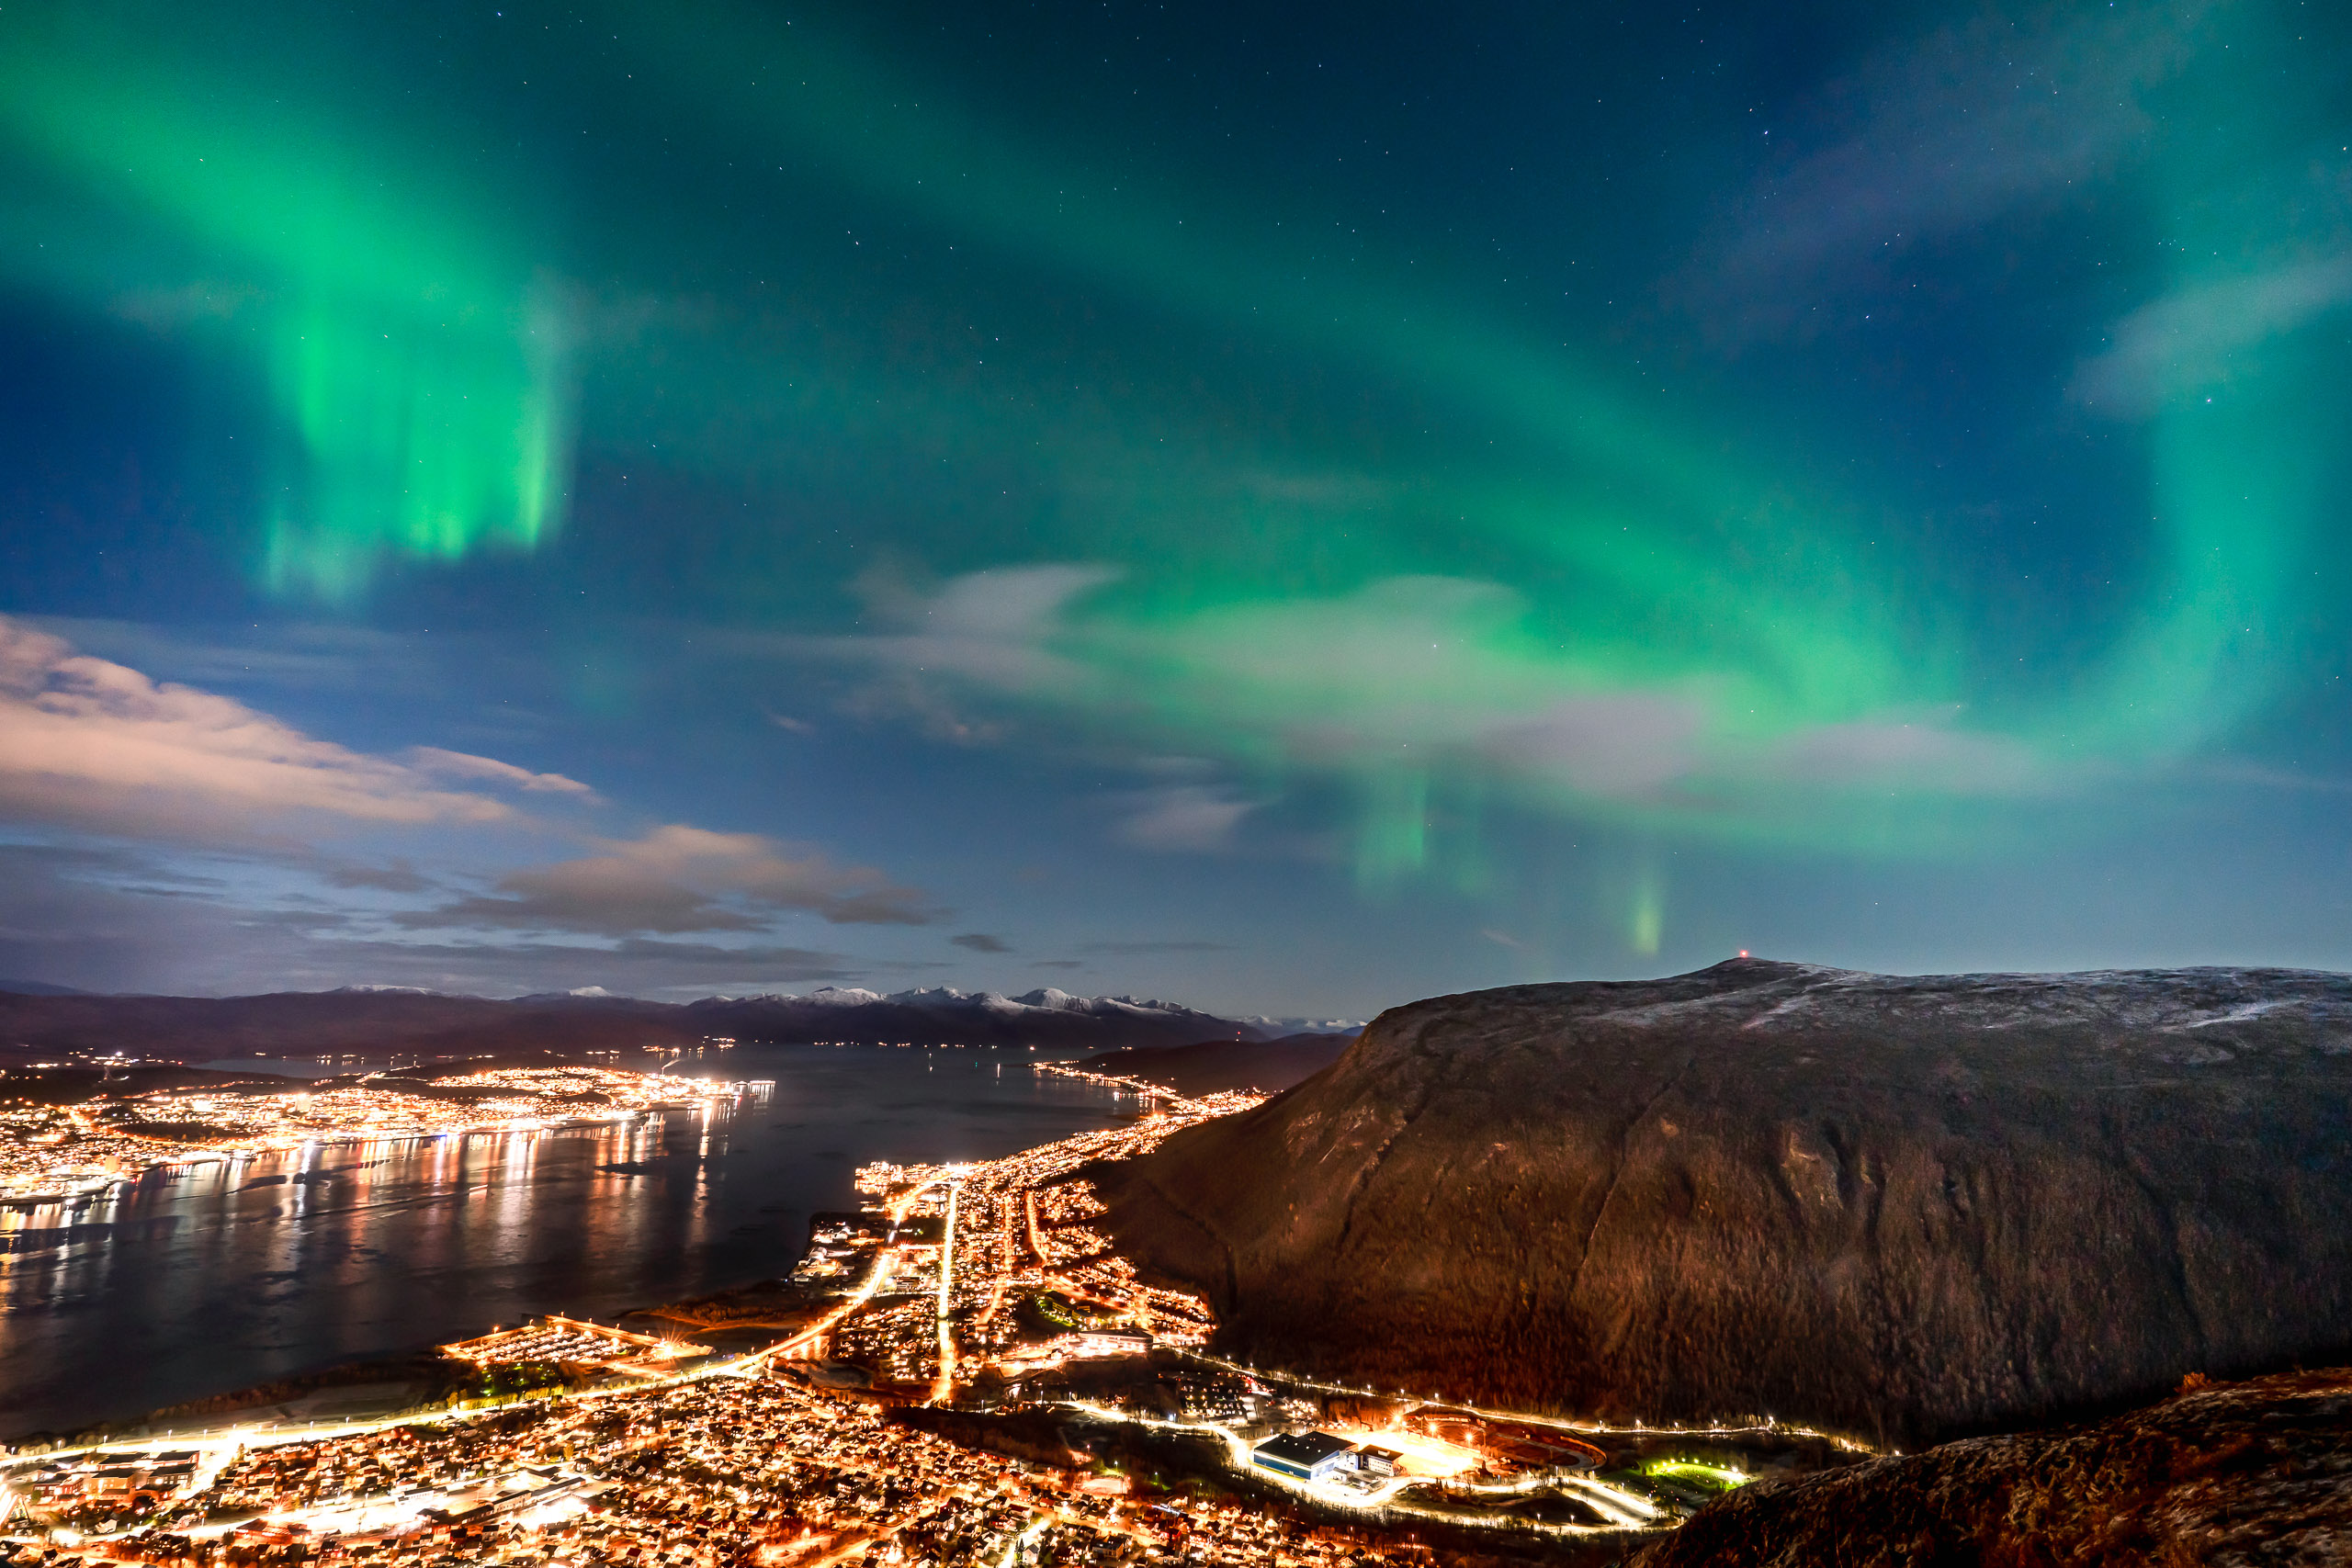
What an amazing experience. I could have left Tromsø the next day with a once in a lifetime wish fulfilled.
Moonlit clouds and & light pollution from the city made things less than optimal for photography, but I certainly had no right to be fussy. Just to have seen the Northern Lights was a special treat in itself, not to mention for a good half hour.
Big bus guided tour
Night two in Tromsø and it was time for the long-anticipated Northern Lights chase.
The bus left Tromsø around 6pm with prospects of a long night ahead and a healthy spirit of adventure. The objective was to find clear skies more than chasing the aurora as such. This in itself could take a few hours, and there might still be a longer wait for Northern Lights to appear.
A bus tour is definitely a compromise if you have serious photography in mind, but it’s a great starting point. To me it’s important to frame a nice landscape composition with some foreground interest, giving the Aurora some context and scale. This requires some independence and mobility.
Travelling in a larger vehicle has its constraints, especially when it comes to finding safe locations to stop. The guides are certainly considerate and encouraging of photography, but it’s not always possible to access the most photogenic locations. As a newcomer to this environment I was prepared to make concessions this time. I certainly appreciated the expert guidance and the chance to get a feel for some typical road and weather conditions.
The drive took us inland to the beautiful wild valley of Tamokdalen, a stone’s throw from the Swedish and Finnish borders. With no sign of Northern Lights and cloud encroaching it was time to move on.
Three hours had passed before we settled at a location on Lyngen fjord near Skibotn. It was a crisp -7 degrees C with a picture perfect clear starry sky. The foreground was quite messy, but snowy peaks lined both sides of the fjord, lit by bright moonlight. Faint signs of auroral activity kept the group’s hopes up, at a teasing level that was visible on camera but hardly registered with the naked eye.
The numbing conditions forced many folks to retreat to the warmth of the bus throughout the night. Our patience was eventually rewarded as the skies lit up around 10:00 pm. At the height of the pageant the aurora swirled overhead like curtains on a breezy day. This was like nothing I’d seen in my lifetime. The luminous green explosion was instant therapy for the cold, which now paled into insignificance.
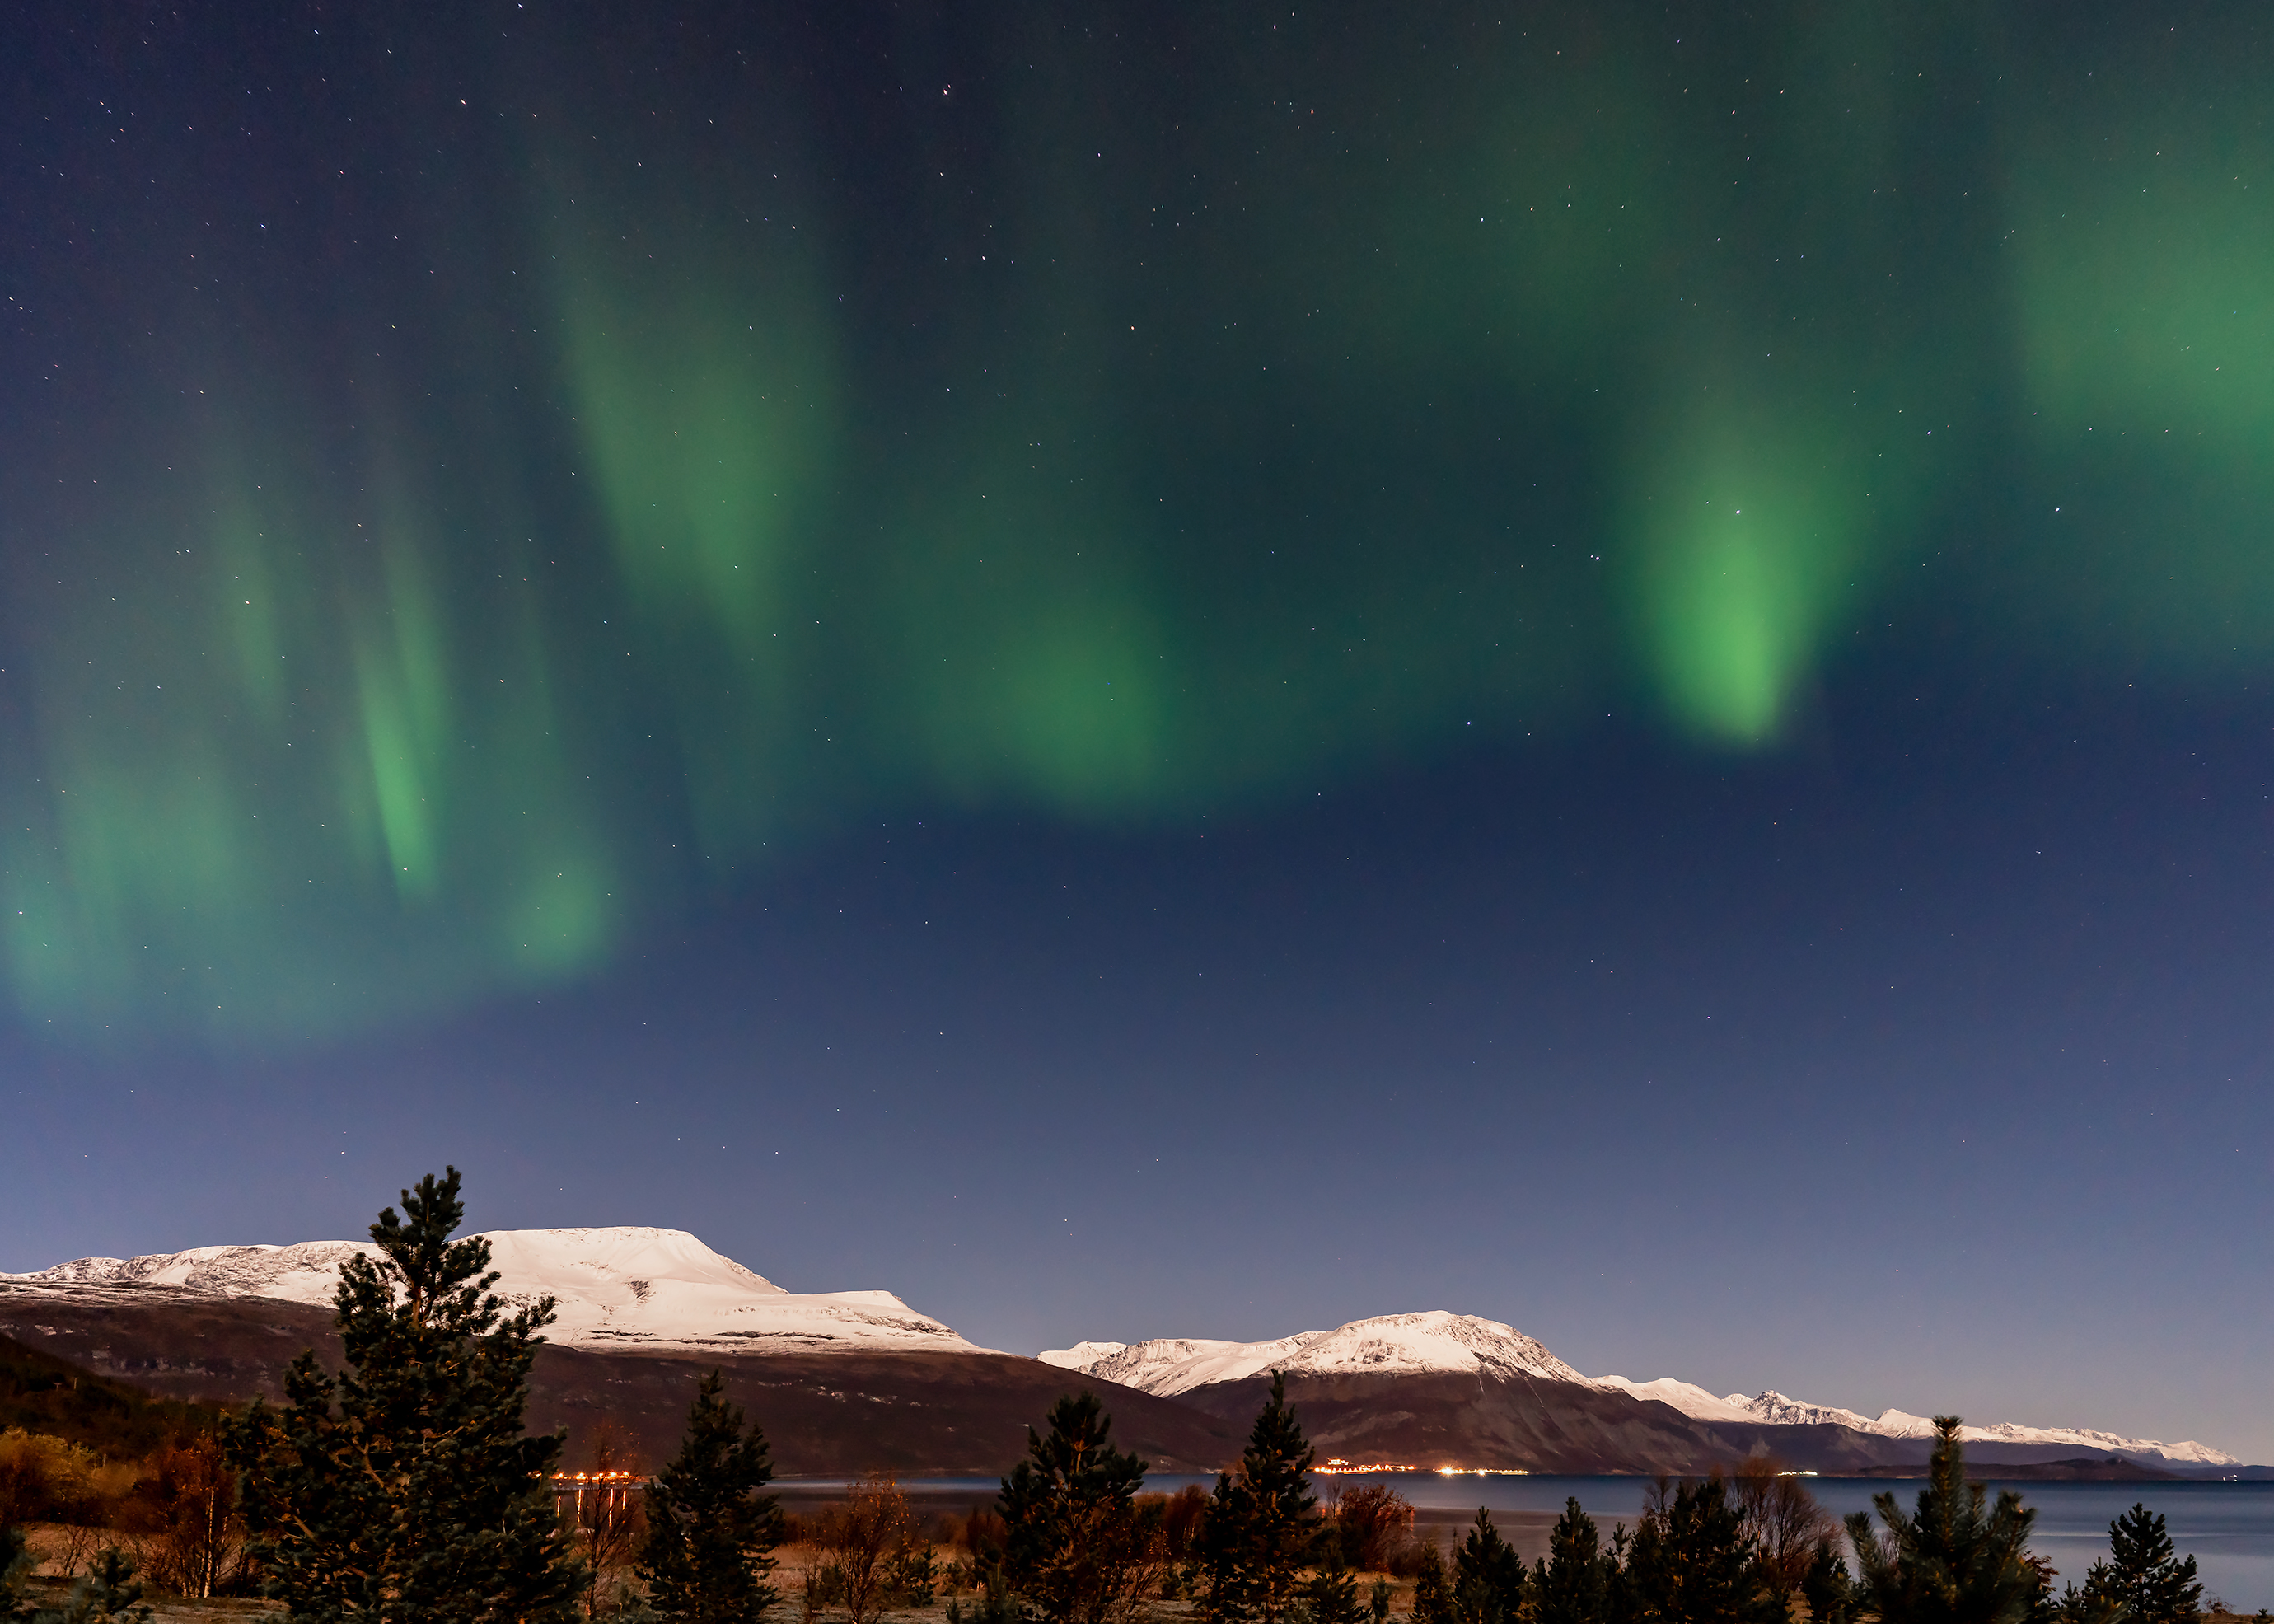
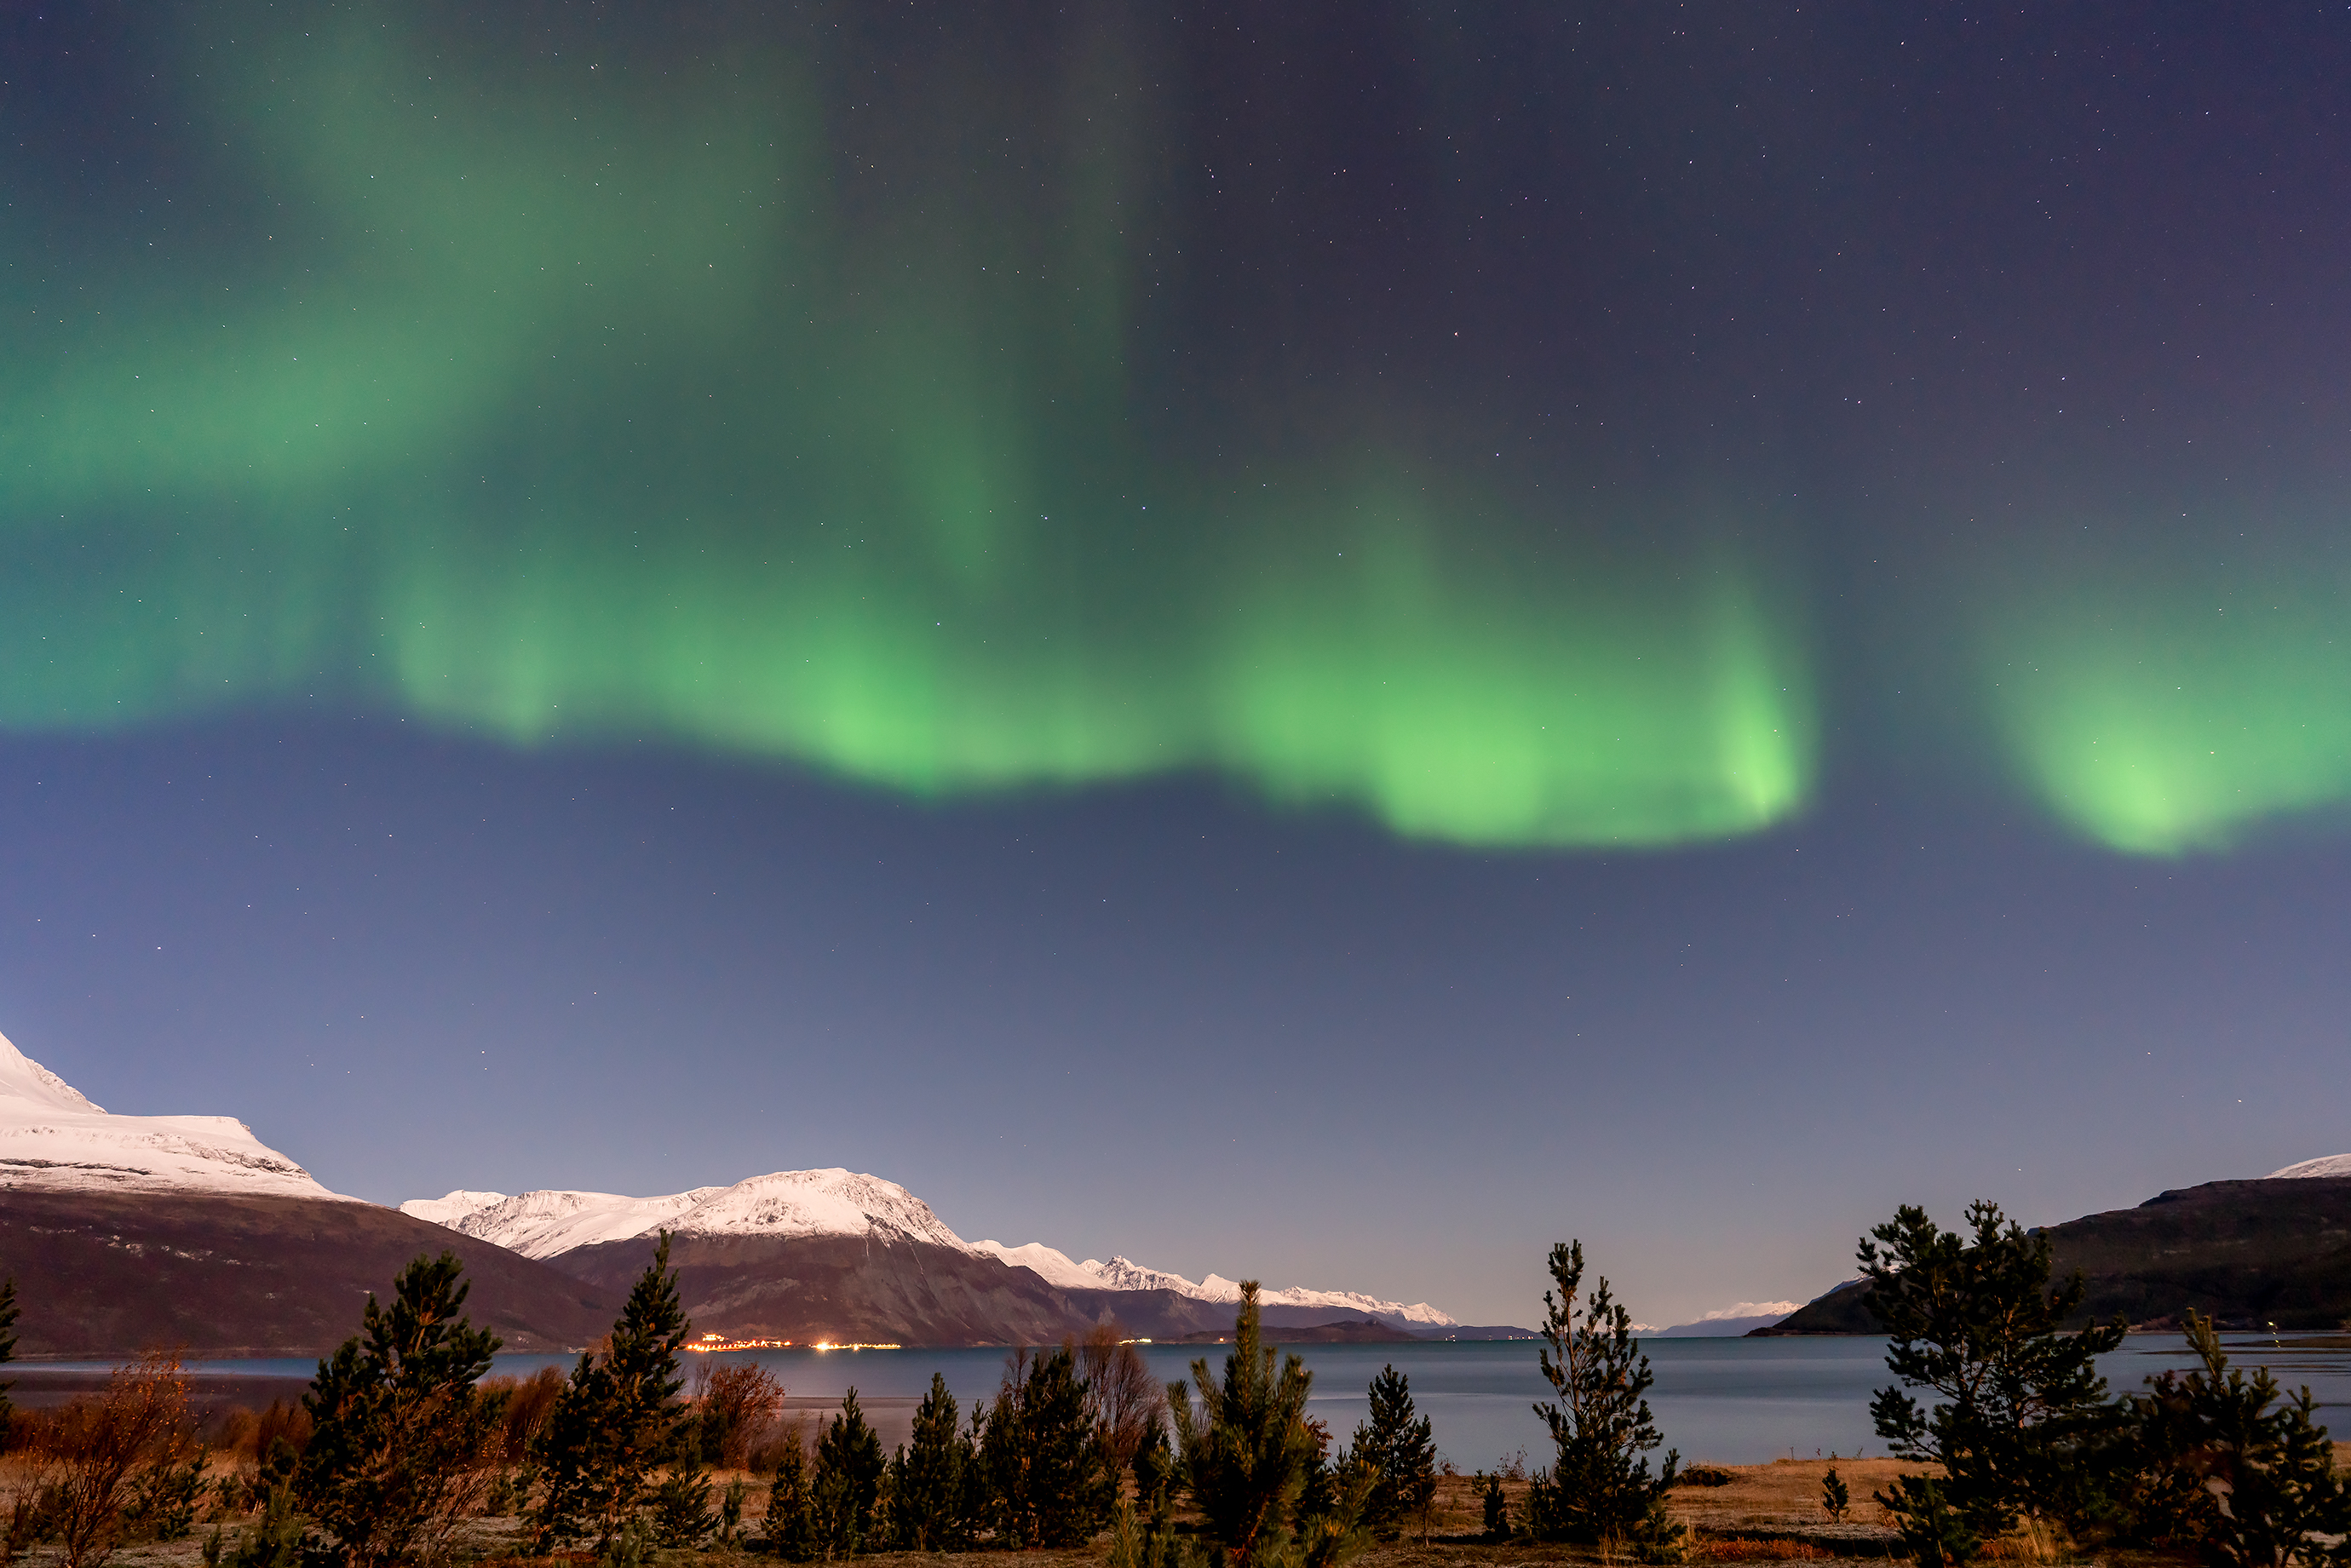
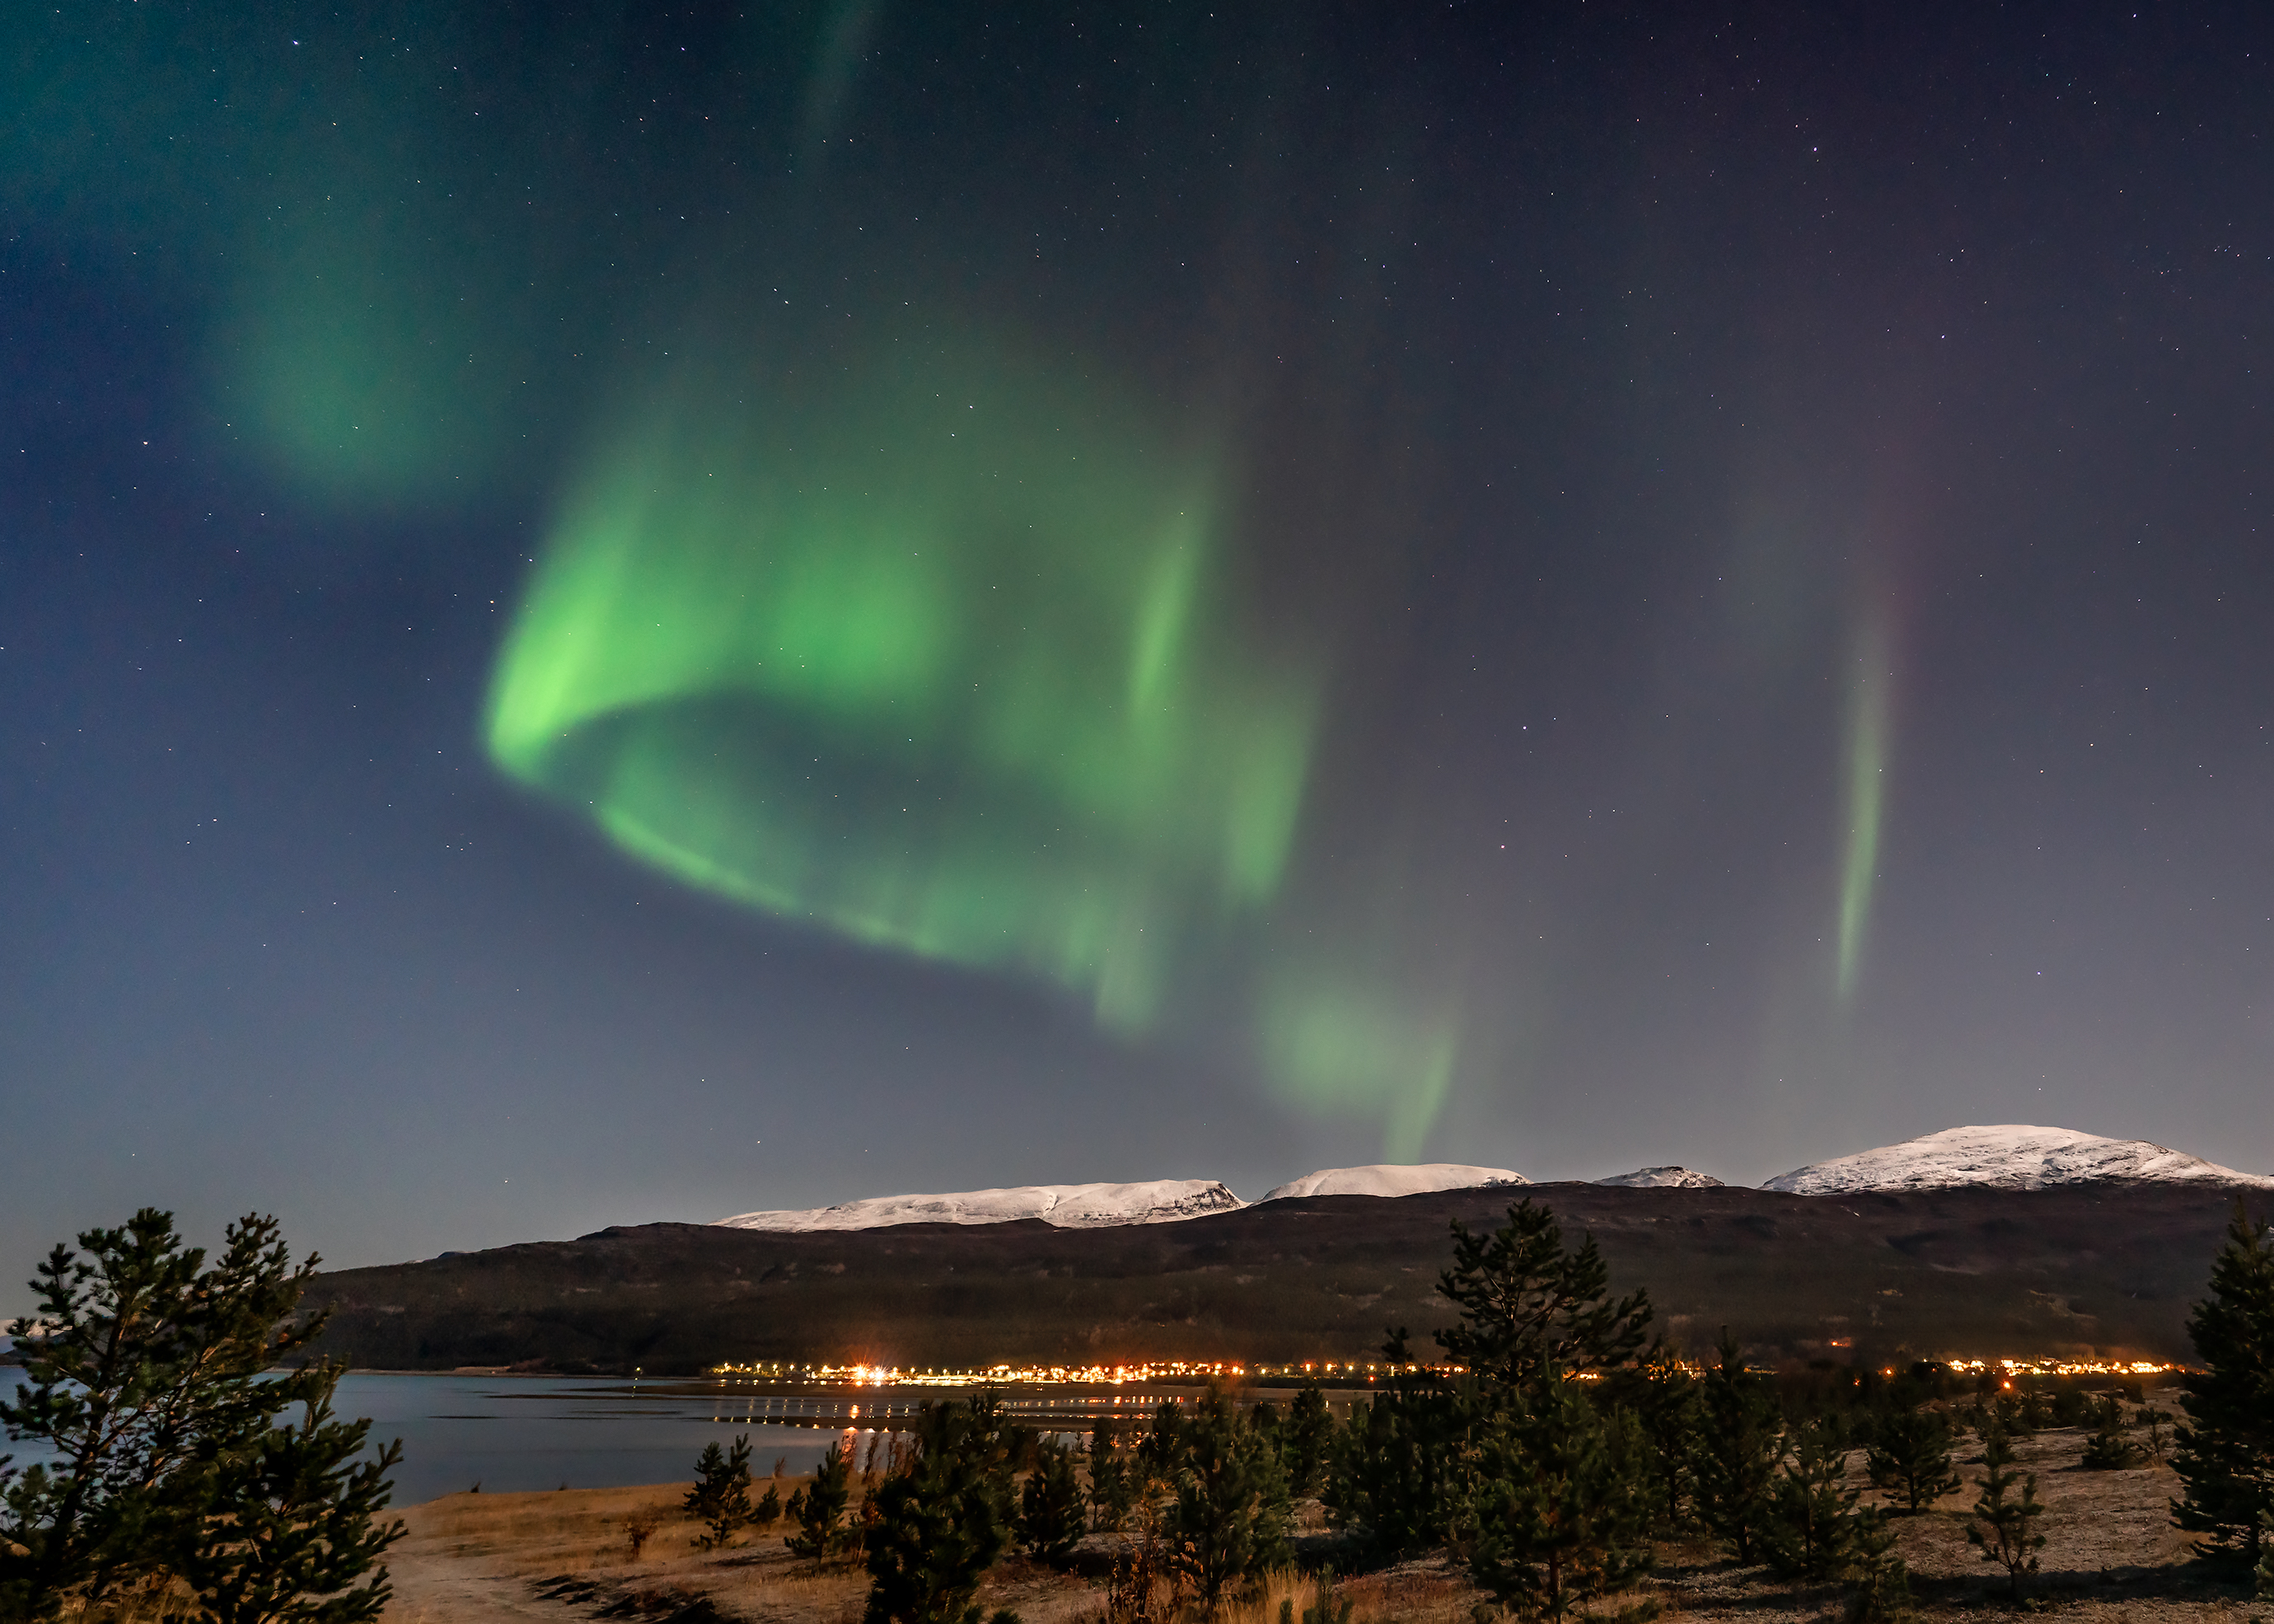
Earlier in the night I worried that the brightness of the full moon would wash out the aurora. I soon appreciated however that the moonlight made it possible to capture more detail in my foregrounds. It also allowed lower ISO’s to speed up exposures and manage noise in the images; and made it easier to control the exposure of the aurora. So, for aurora photography in a landscape perspective, I decided moonlight has its advantages.
Well and truly spoiled with this breathtaking hour-long display there was every reason to declare the mission to Tromsø a success.
We were safely delivered back to our hotels around 1:00am for sweet dreams of green.
Minibus guided tour
Later in the week the forecast was looking unexpectedly clear, so I decided to chance one final chase, this time opting for a much smaller guided tour.
This came at double the price of the big bus tour, but there was definitely more flexibility when it came to accessing locations, and a more like-minded crowd. Full body winter suits were provided this time, making a huge difference to comfort.
Again we left town around 6pm, but this time there was no waiting around. Tonight’s show opened early, and we could even see activity from the moving vehicle.
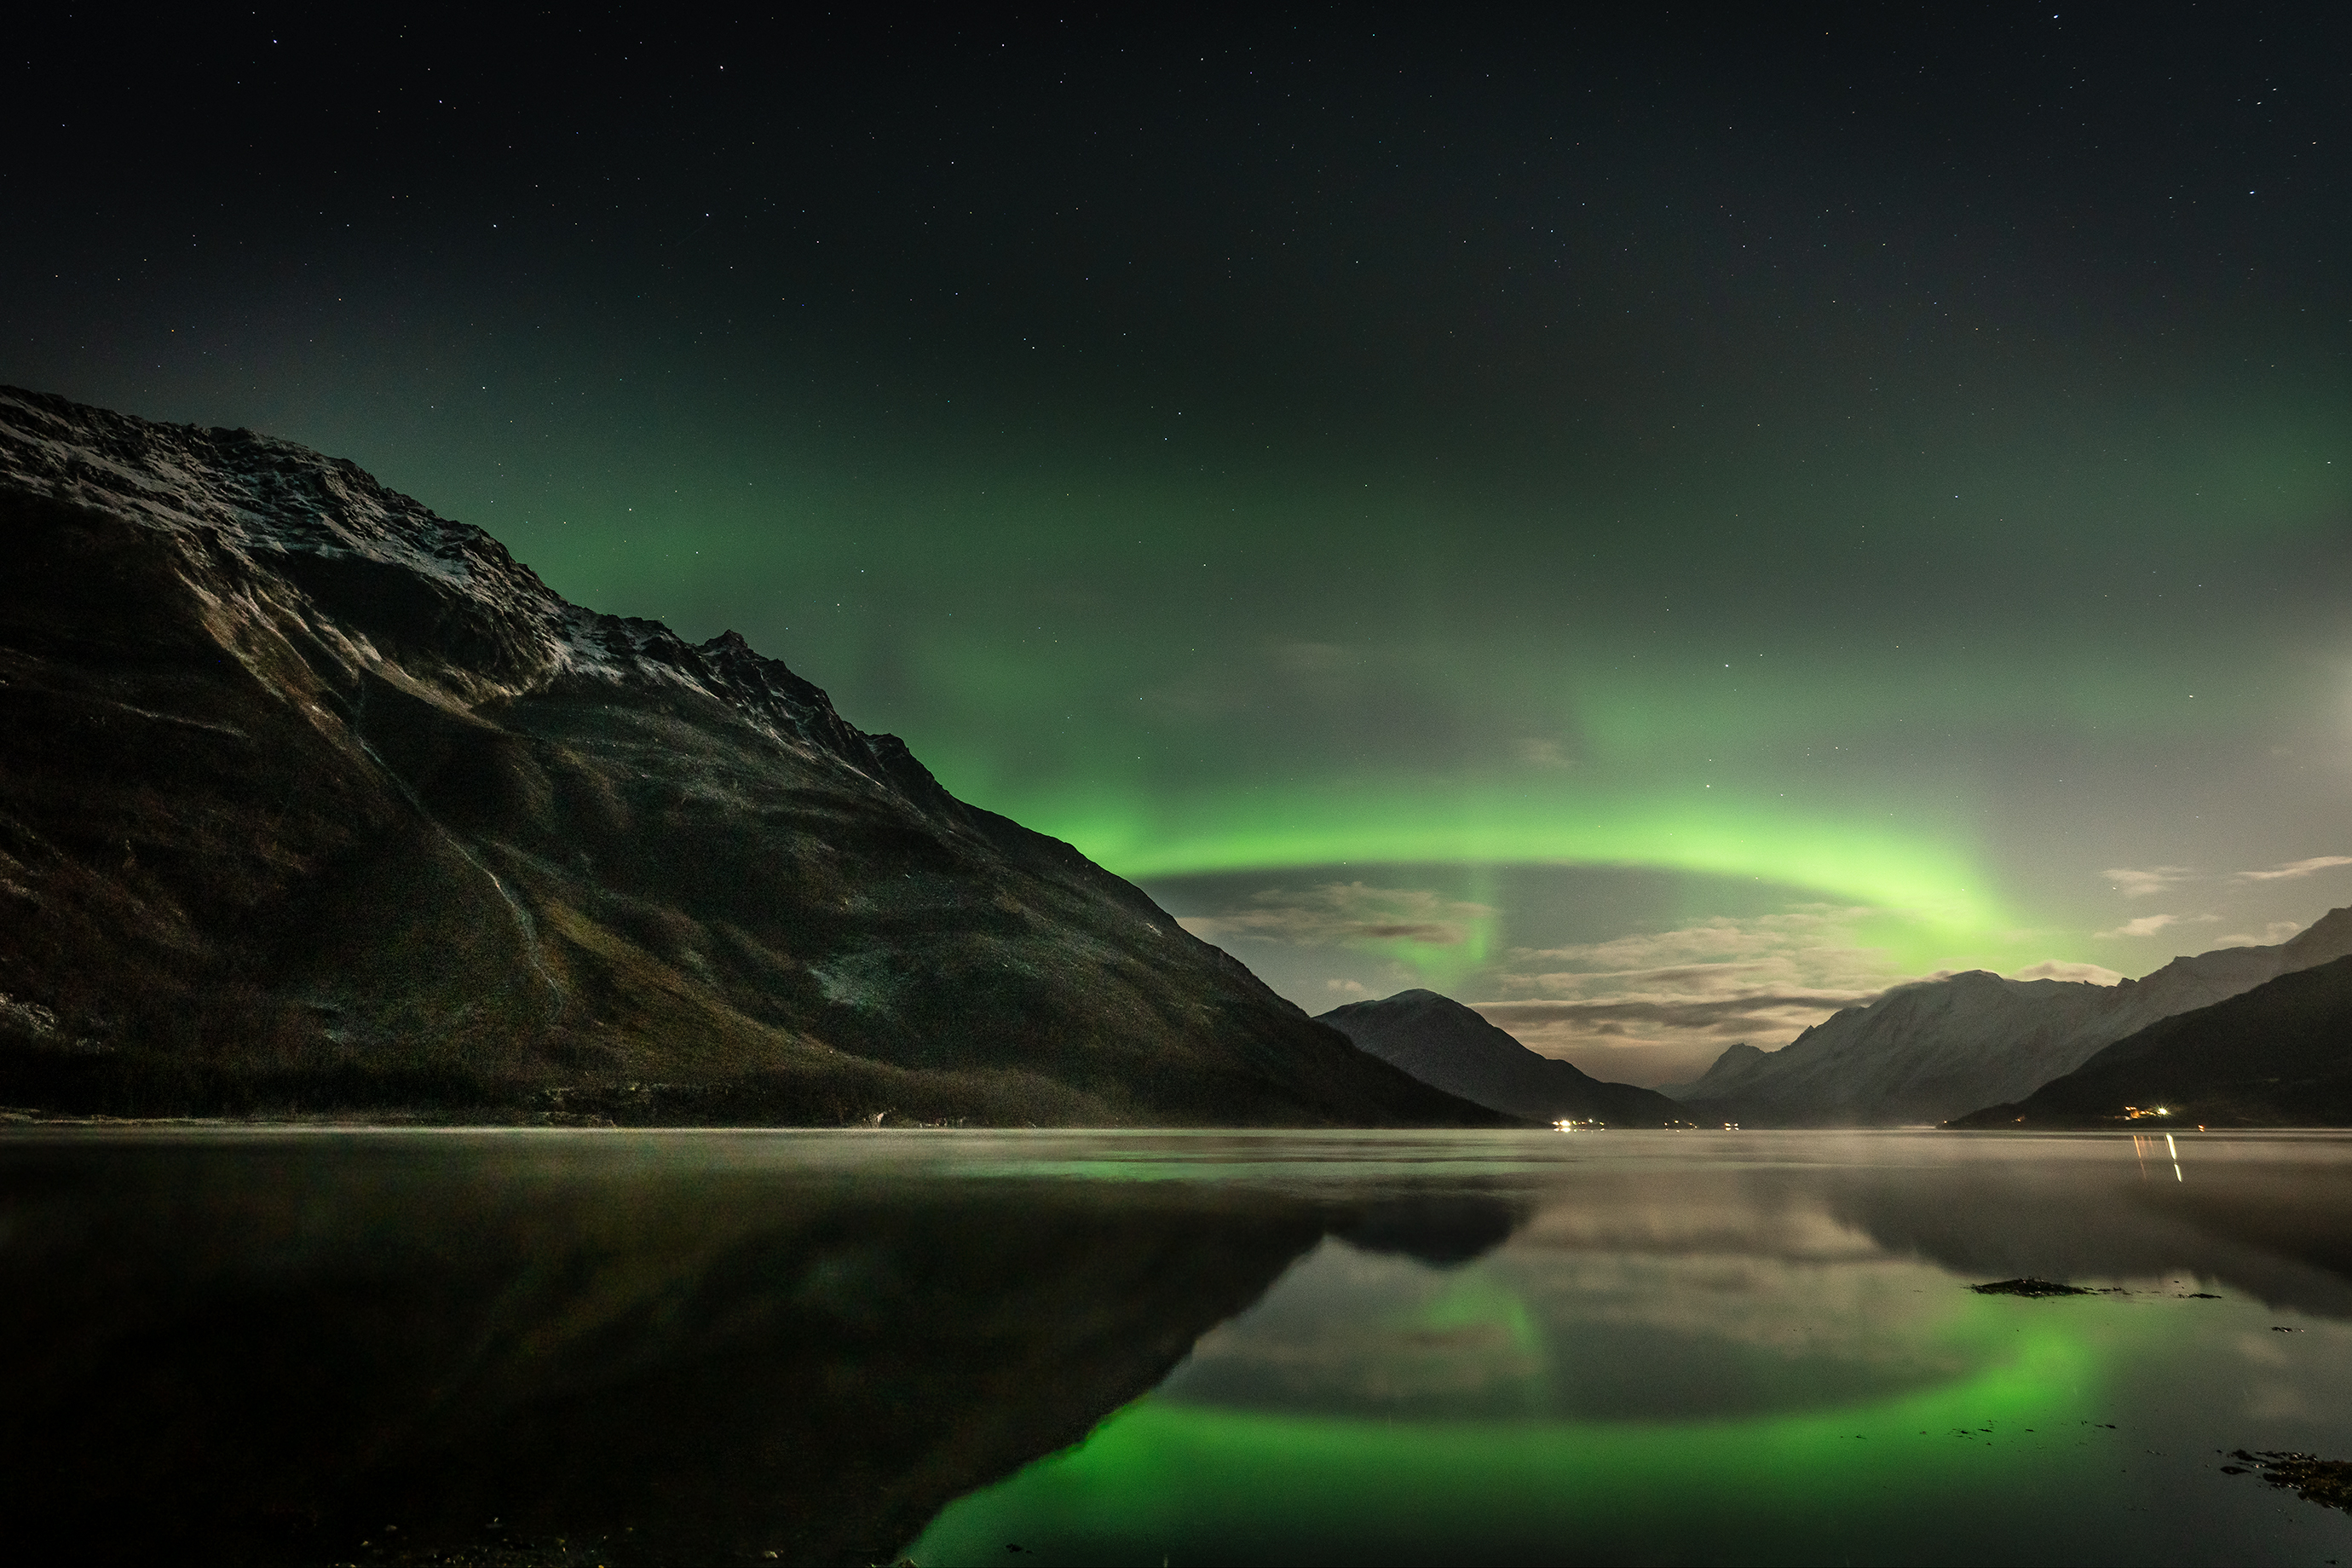
After some quick opportunistic roadside stops our guide settled on a quiet beach, surrounded by mountains on the inside of a fjord near Laksvatn.
It was a mad scramble to get into position and set up the camera, and I made it just in the nick of time to capture this very first image of the night:
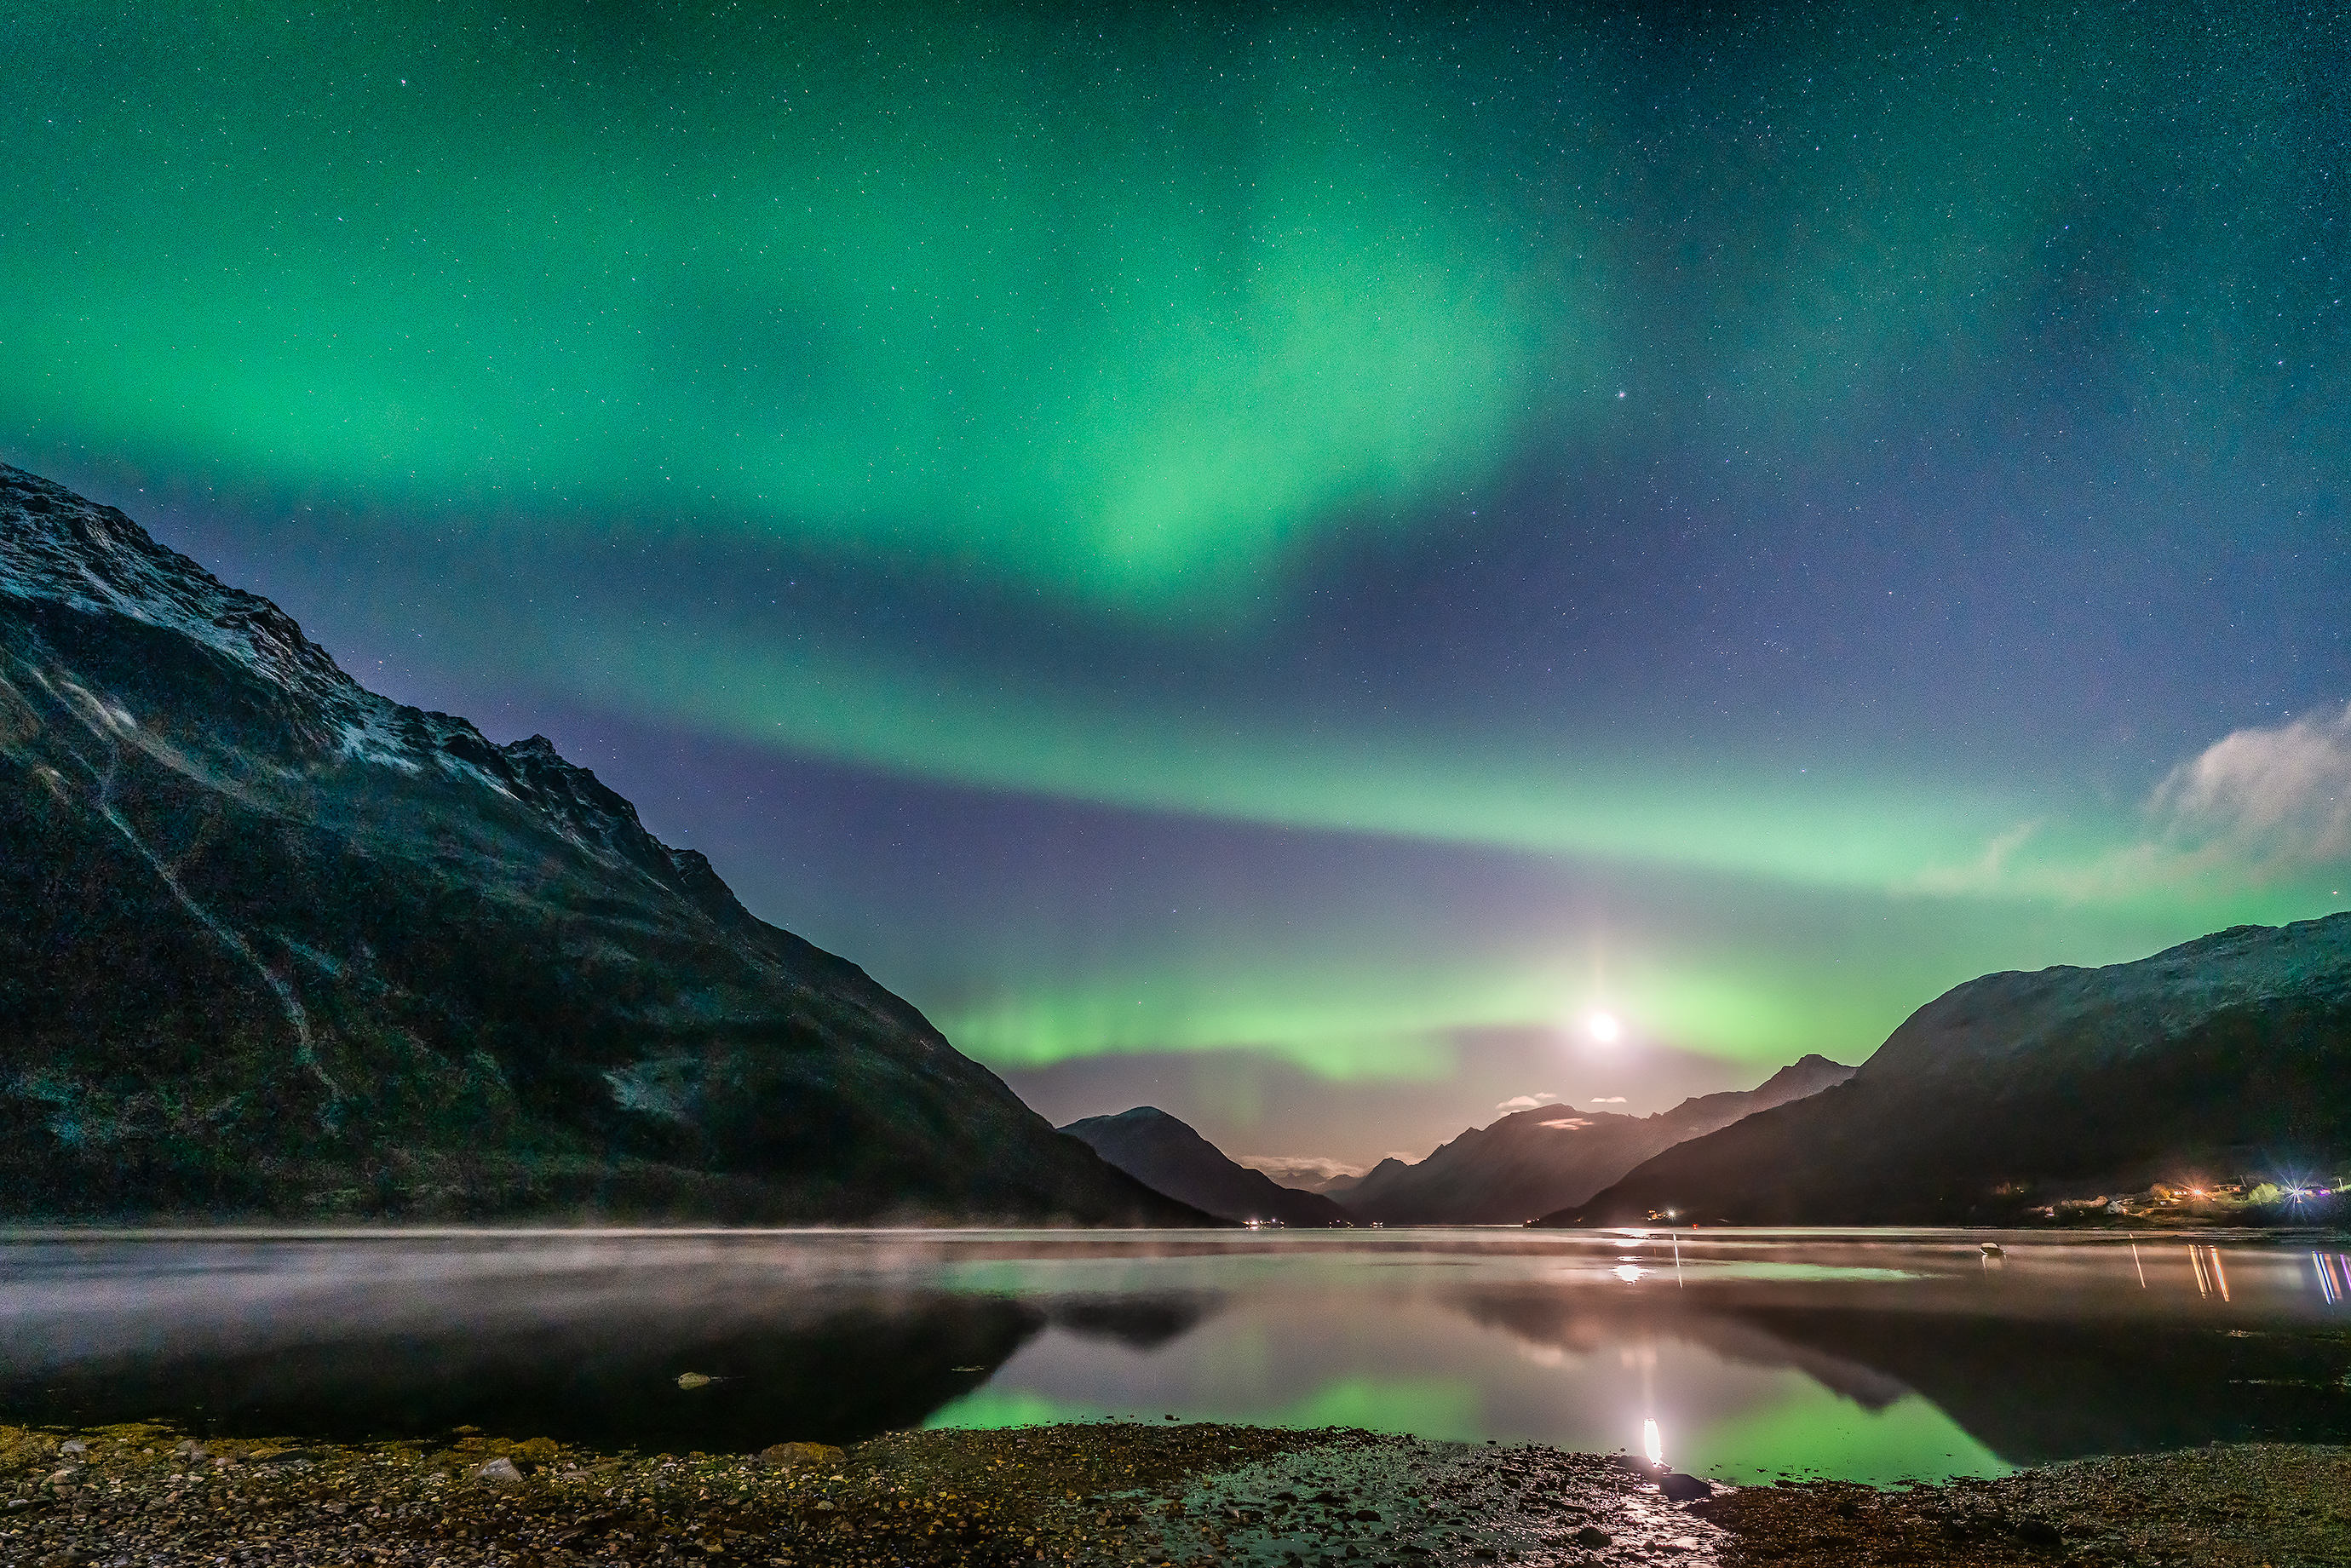
With this shot my expectations had already been exceeded. I was so relieved to have a decent foreground to work with this time, complete with stunning reflections from the glassy fjord.
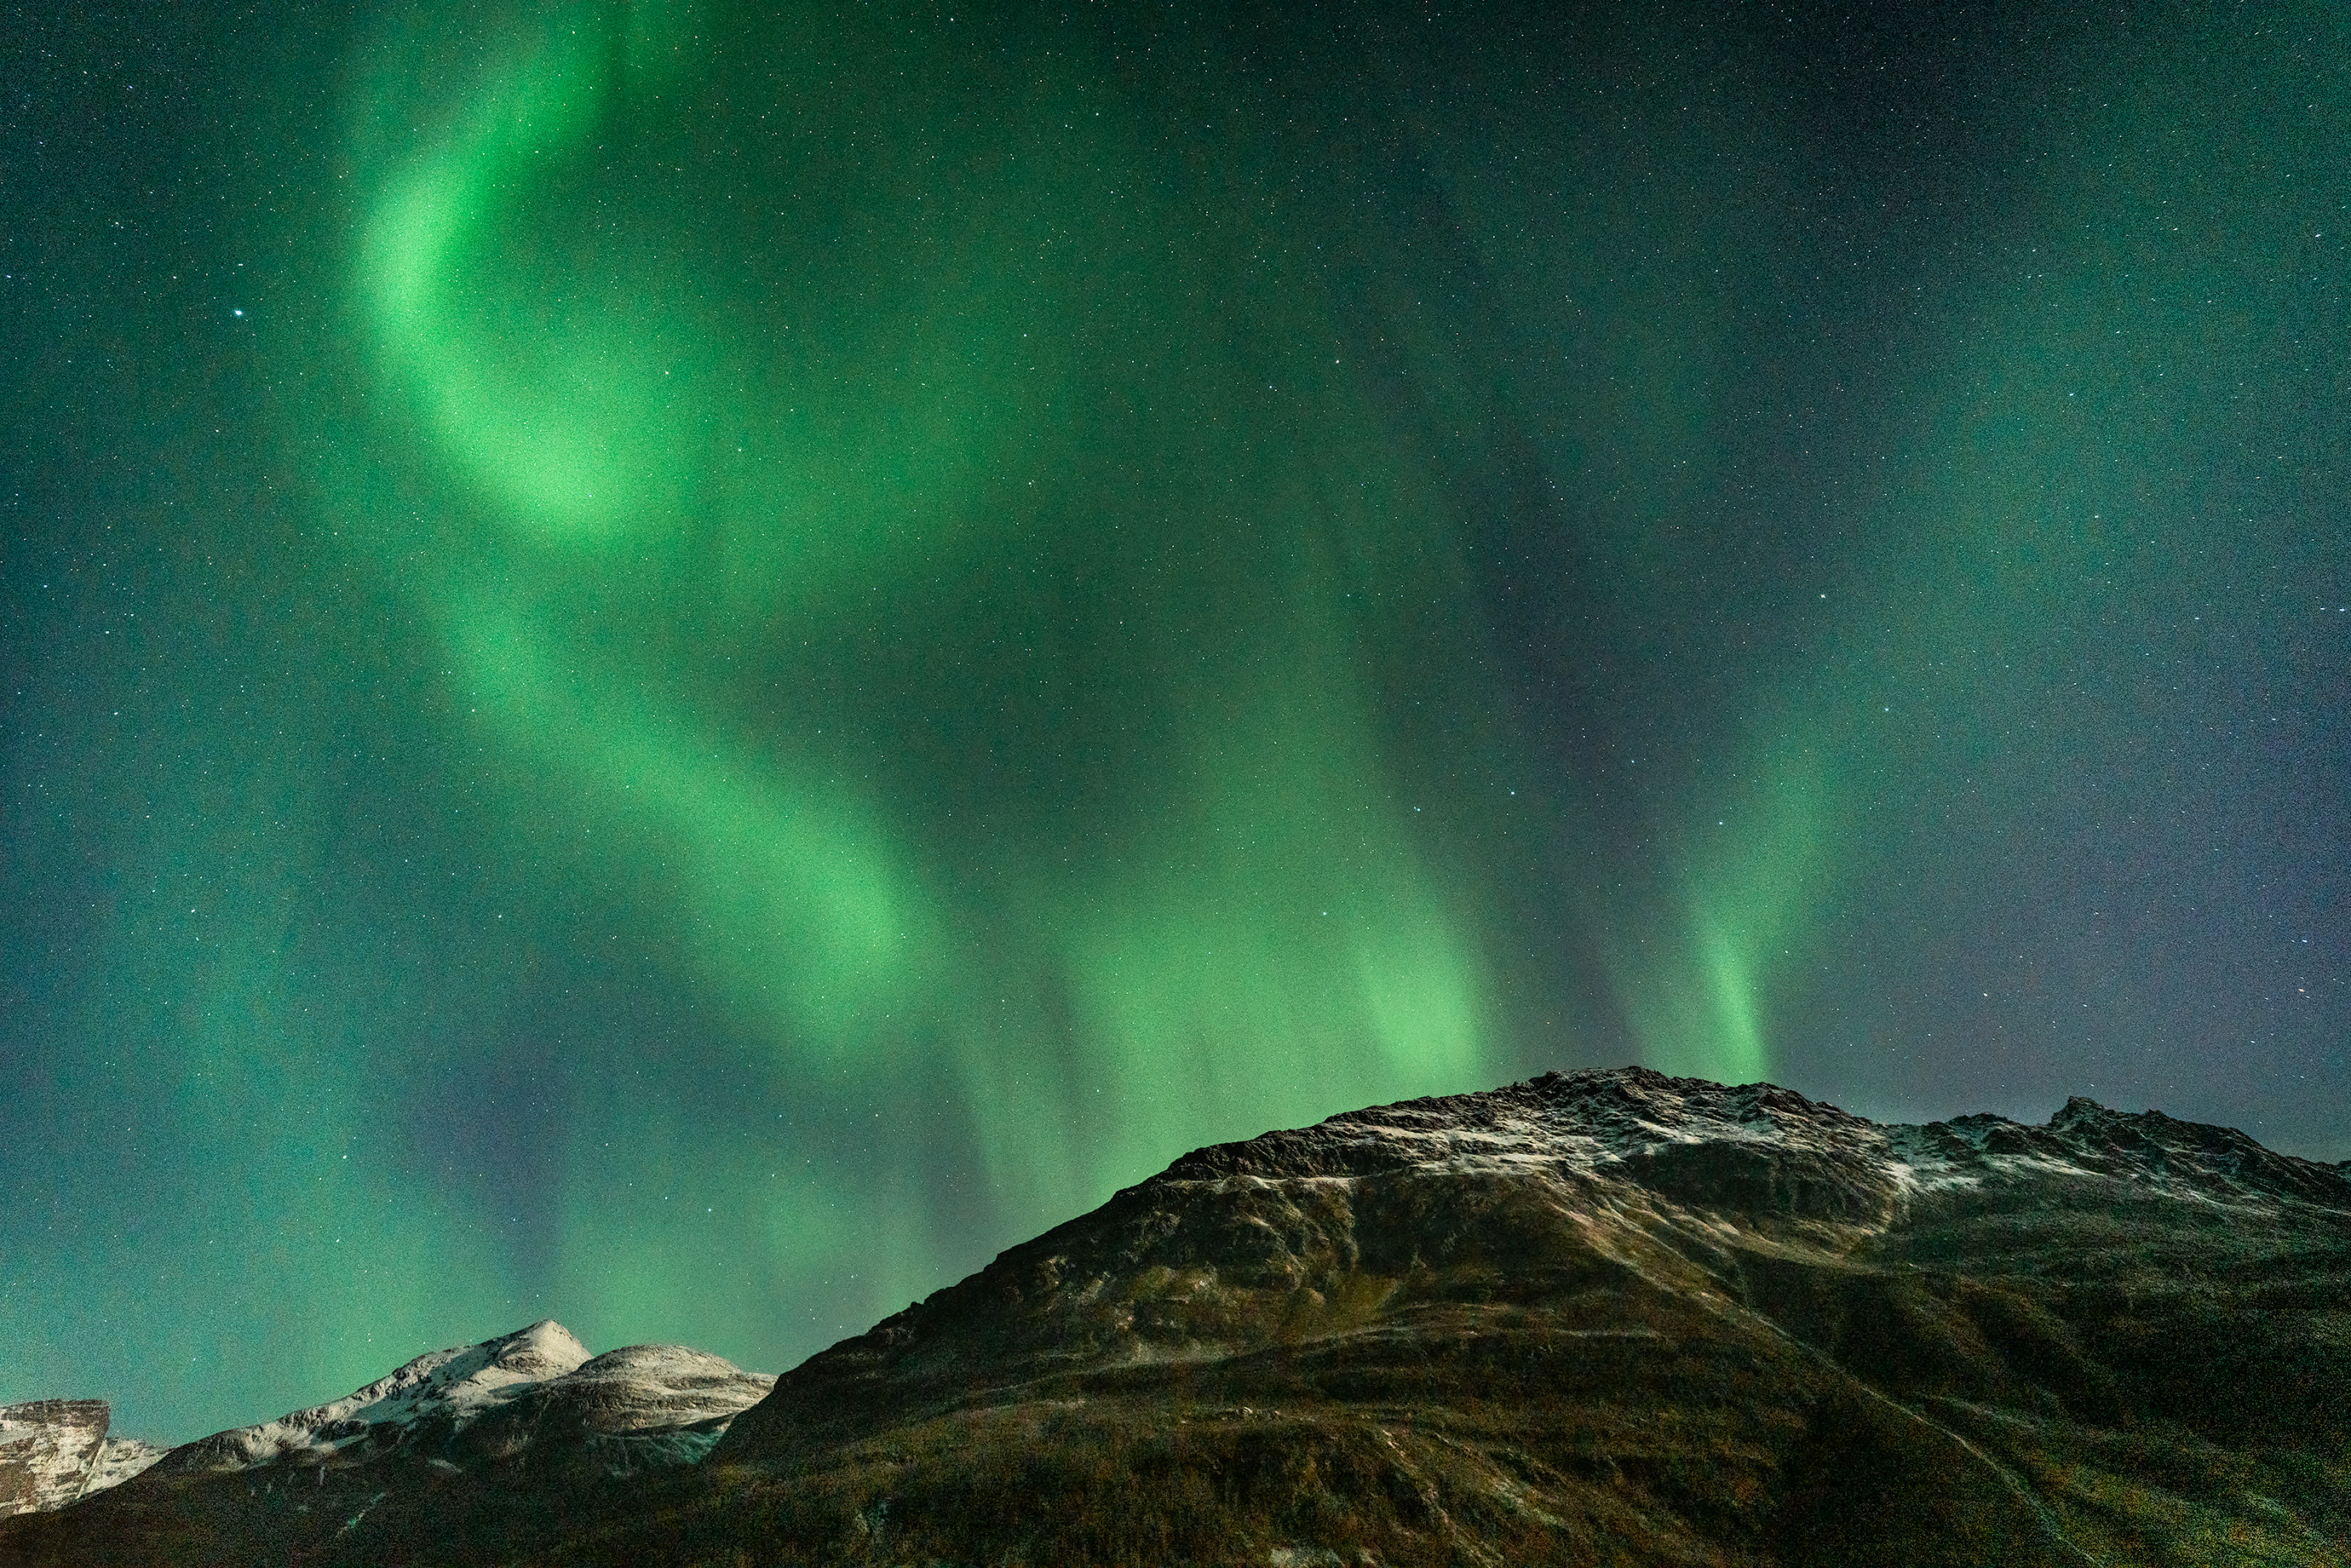
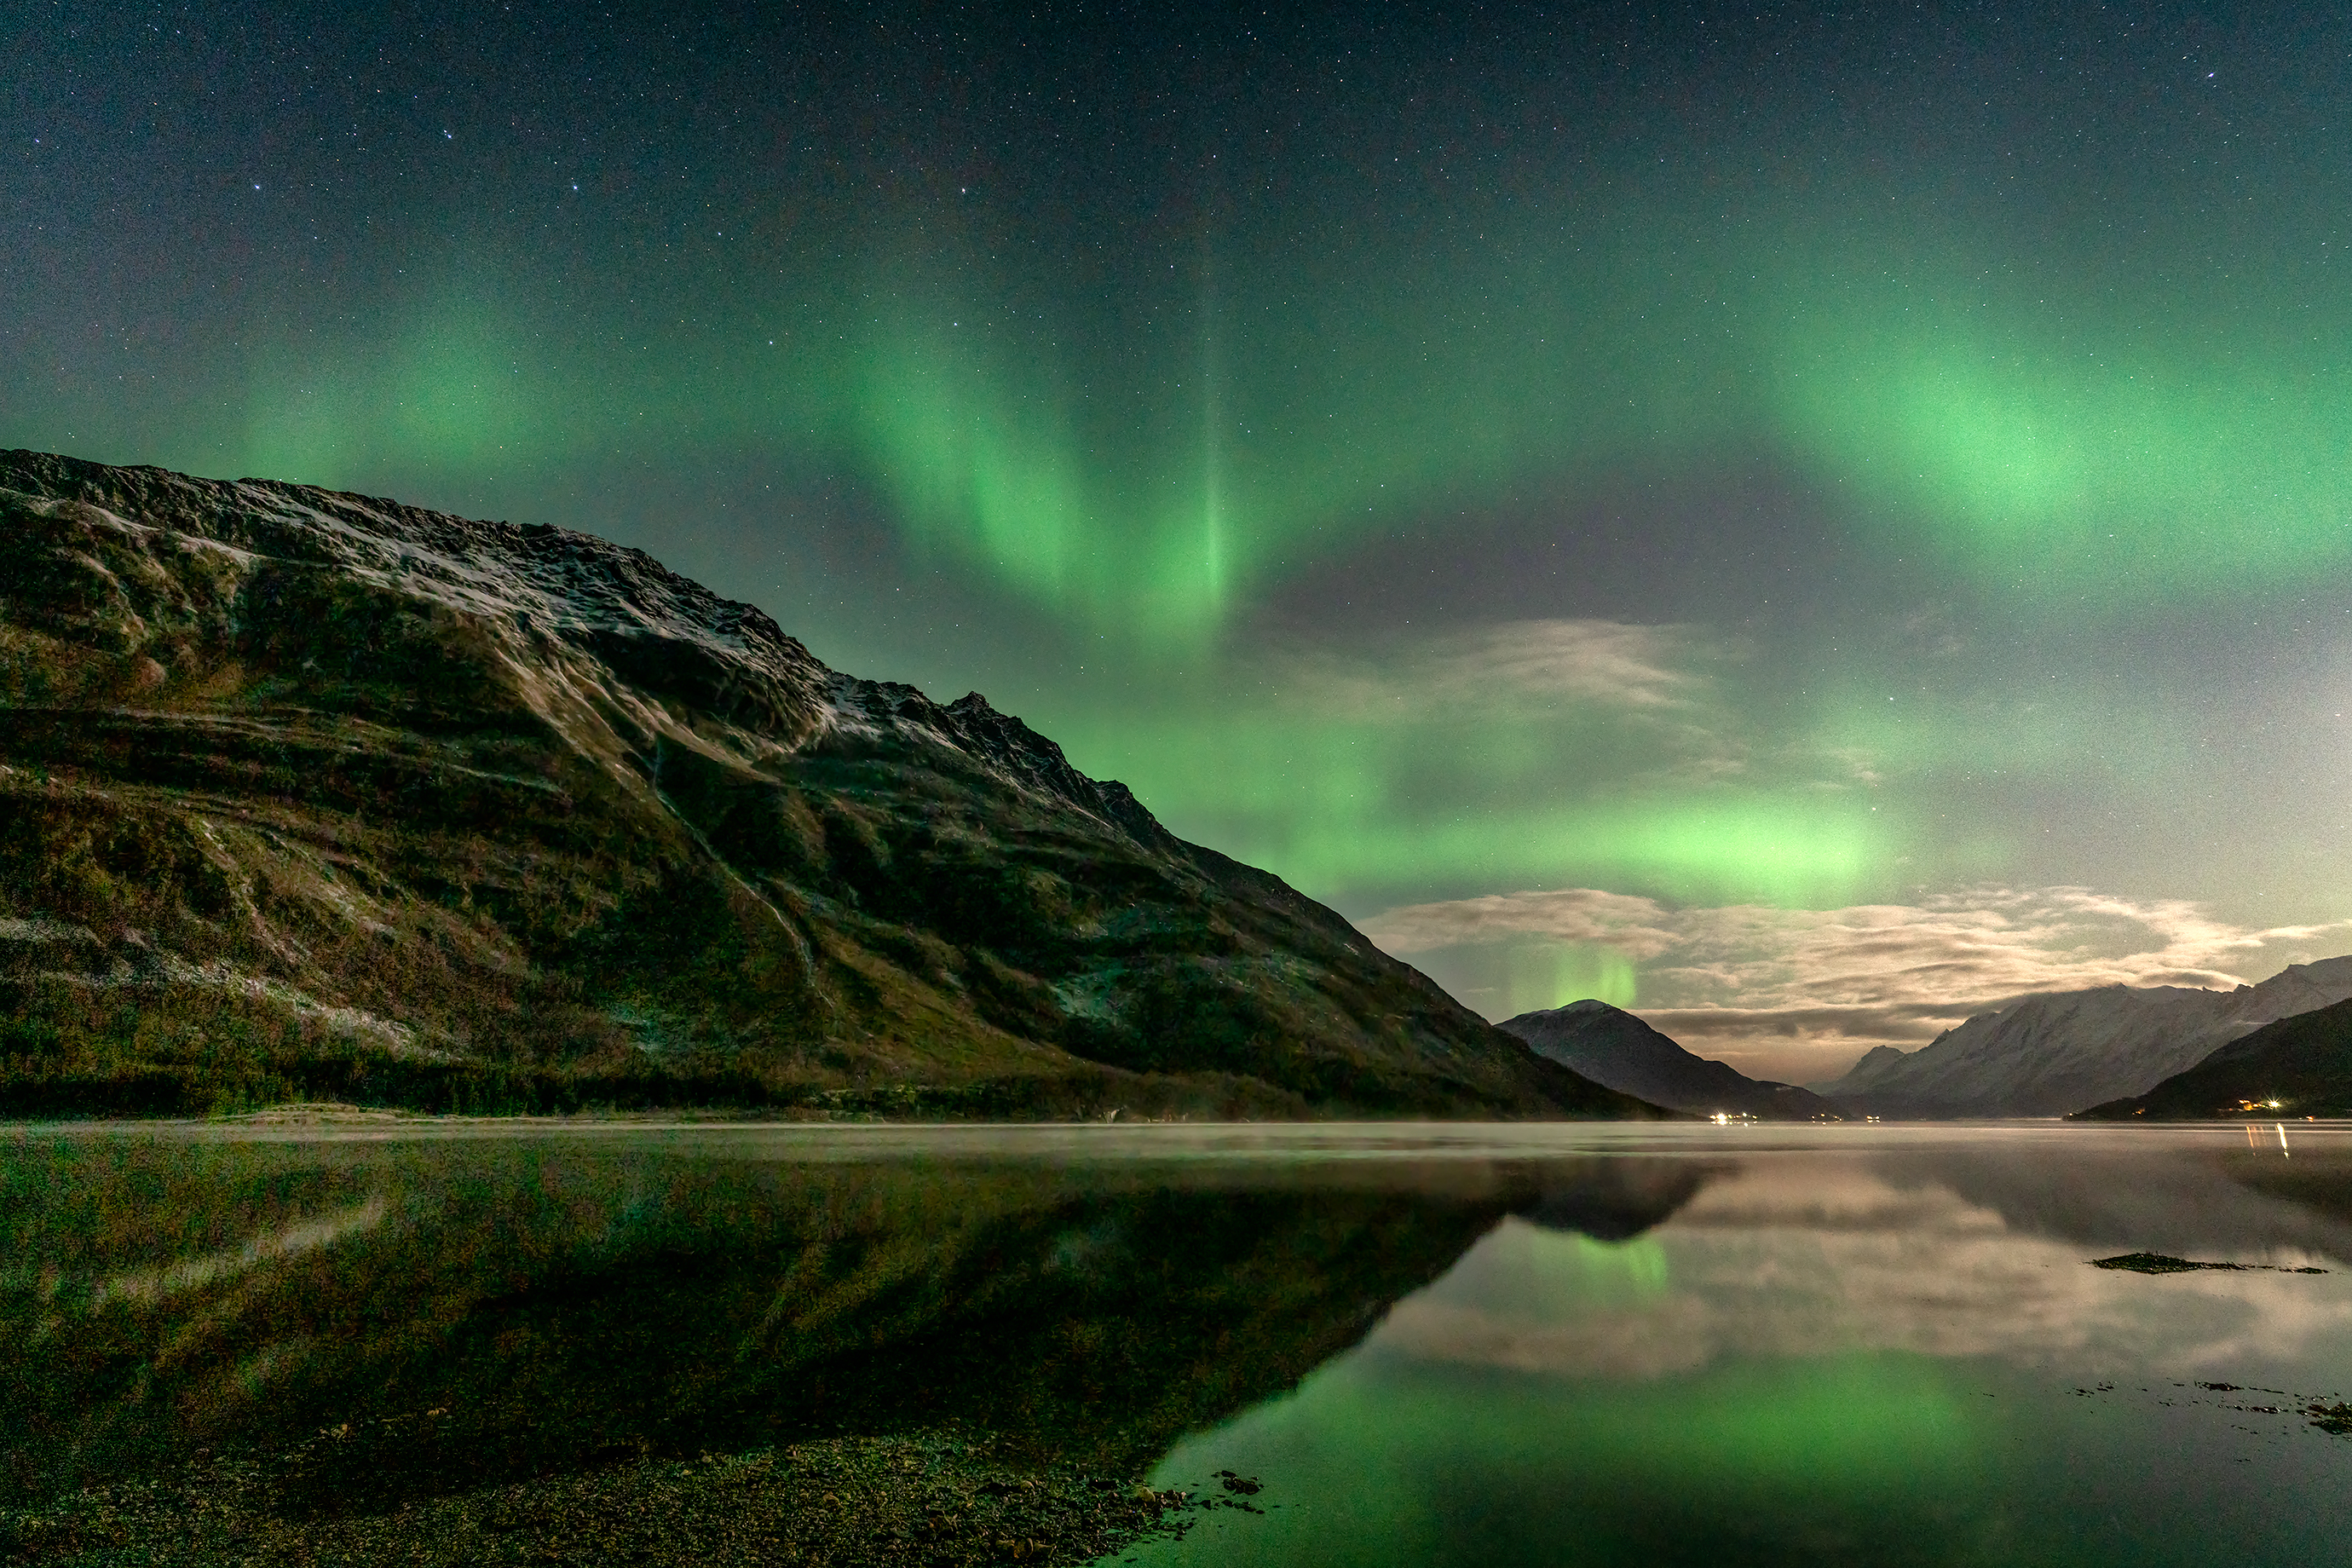
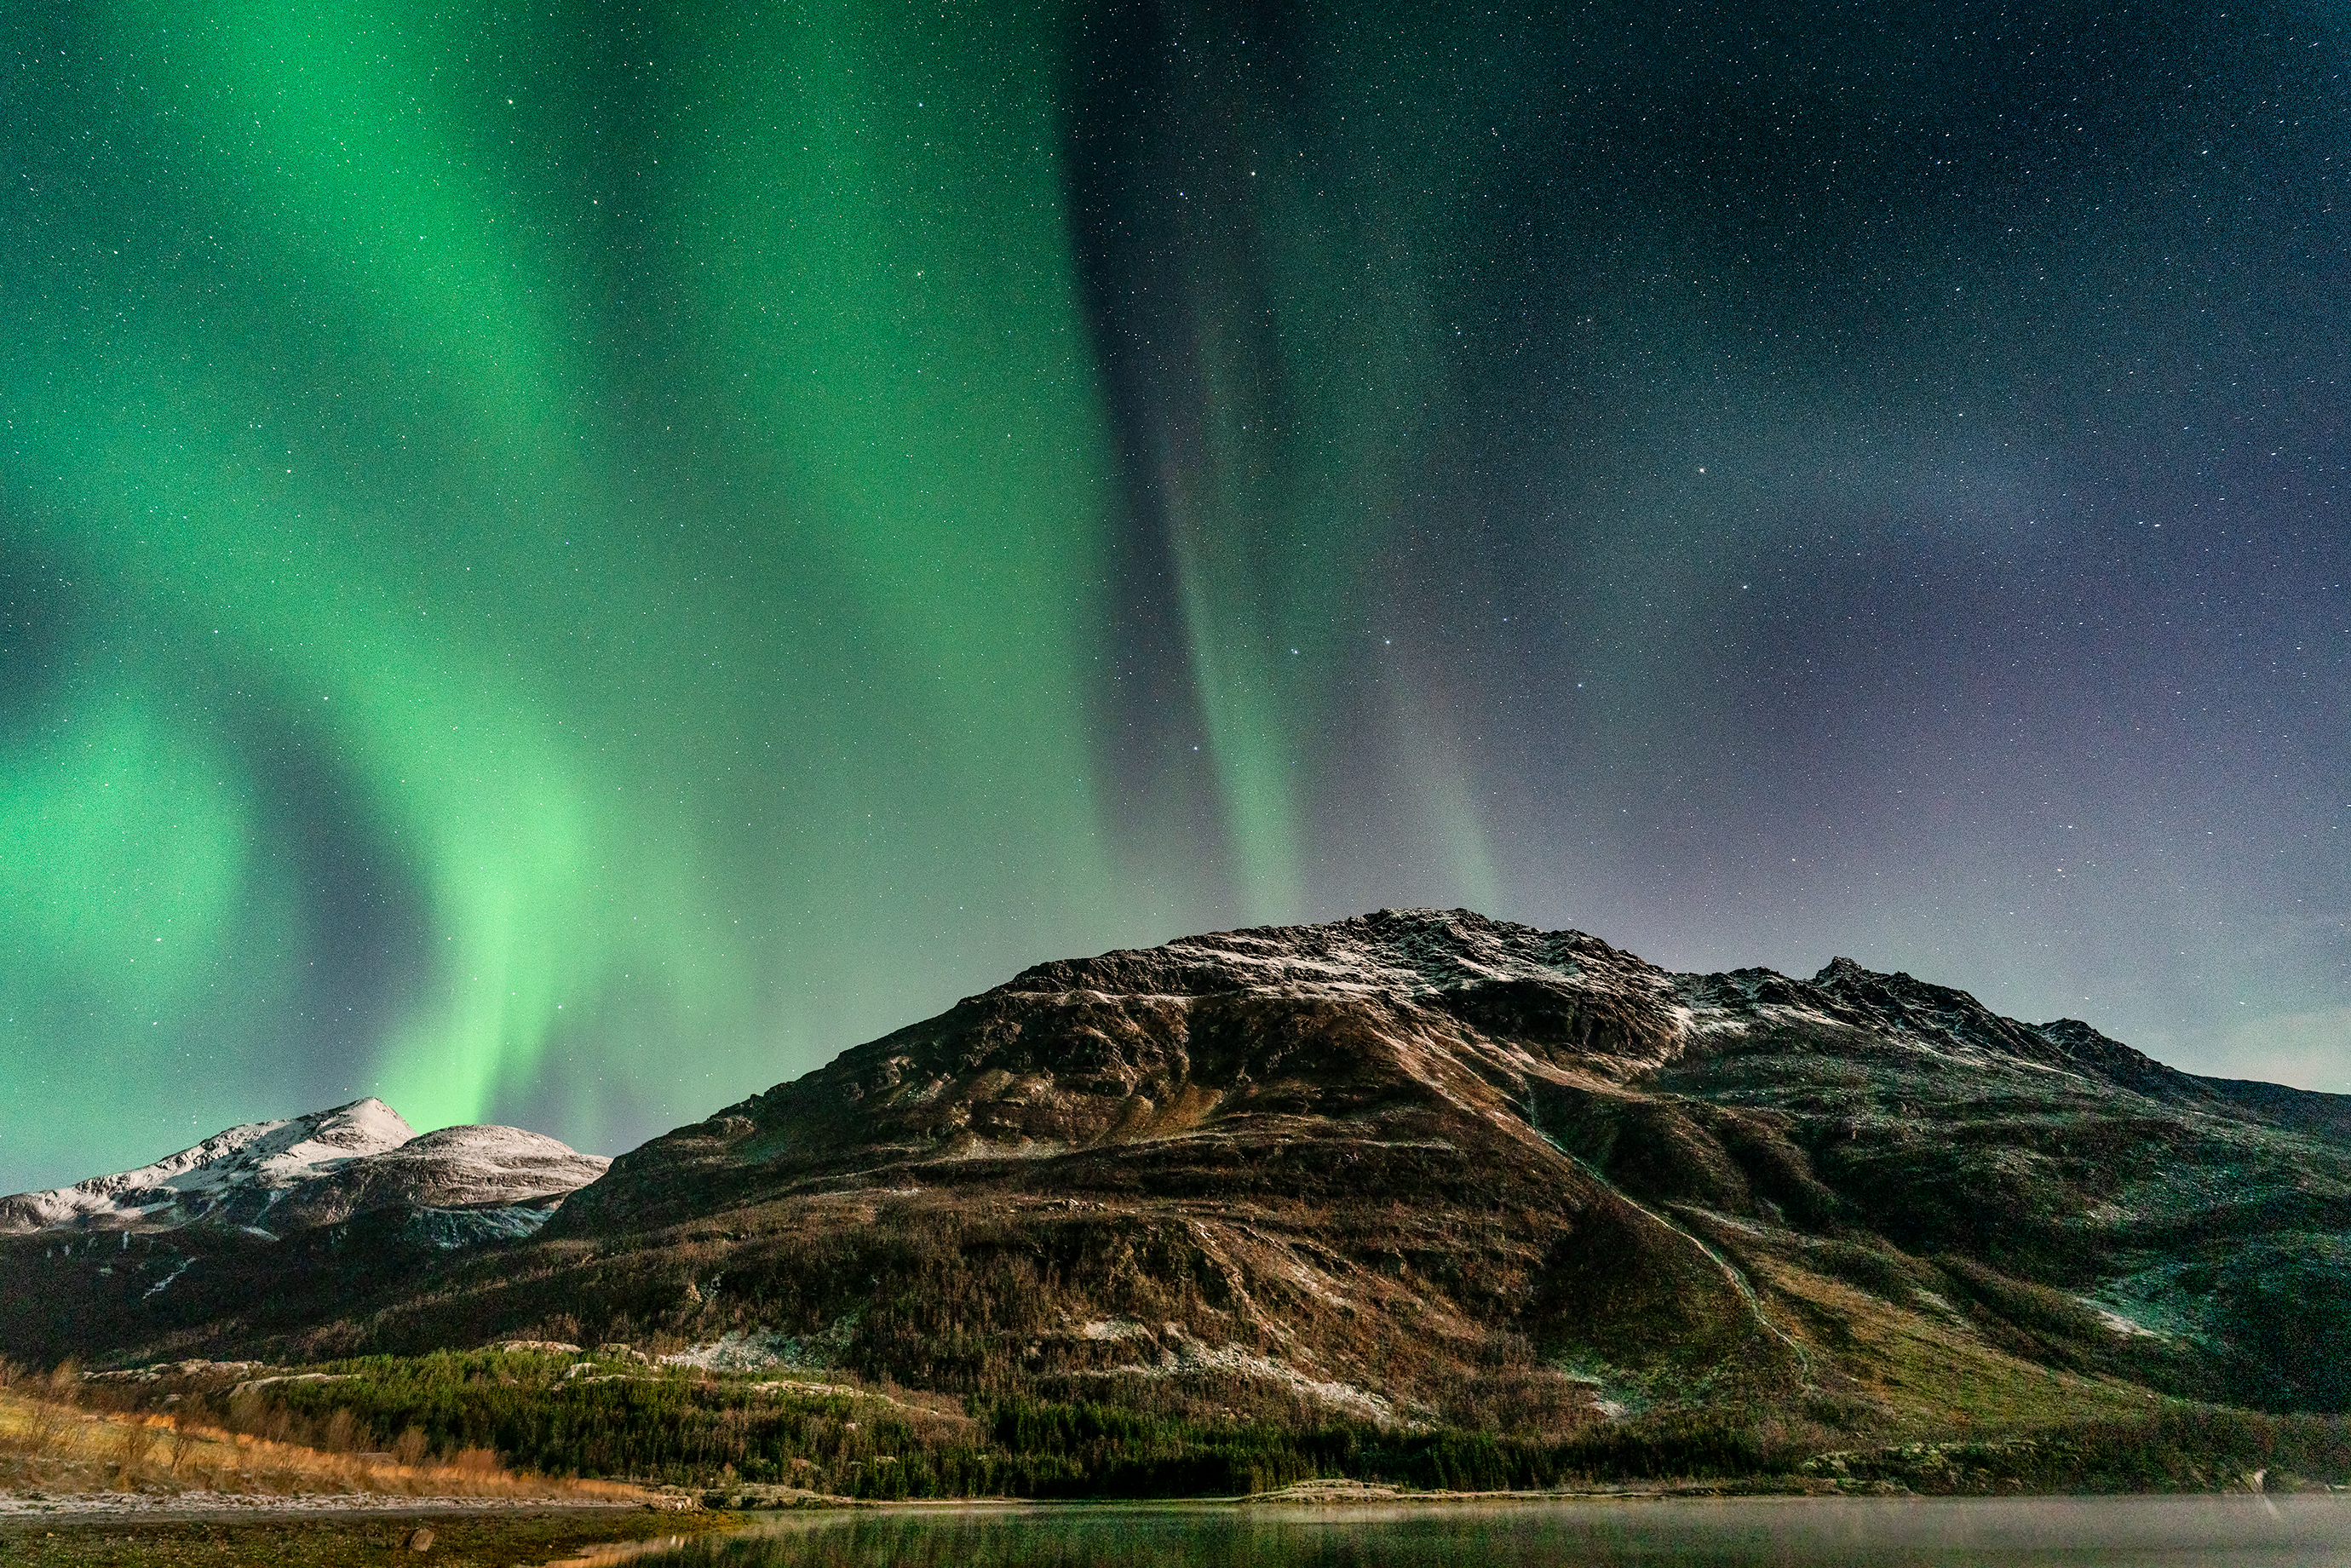
An hour slipped by in the blink of an eye. I was totally in my element taking shot after shot, drinking it all in.
The invitation to relax on reindeer hides around a warm campfire with a hot meal was too good to refuse. I’ll never forget these moments by the flickering fire on an icy beach, as the lights danced silently across a starry Arctic sky.
It’s impossible to describe the experience through a keyboard, but the pictures should give some idea. I soaked up every moment. This was my kind of place.
Aurora Photography Tips
In conclusion I’ve summarised some of the tips I learnt from my first Northern Lights experience.
If you have no prior experience of the locality or icy Arctic conditions, then a guided Northern Lights tour is a good place to start. Sure, there are compromises when it comes to pure photography, but there really is no substitute for expert local knowledge.
The weather changes rapidly, and conditions in this part of the country are very localised. Don’t be put off by cloud in your current location. Valley areas can have their own microclimates, so it might only be 20 minutes’ drive to find clear skies.
The Norwegians have a saying that “there’s no such thing as bad weather, only bad clothing”. That says it all really. You’ll be exposed to sub-zero temperatures for hours at a time, so take plenty of layers of warm clothing, with a waterproof and windproof outer layer & waterproof boots with good grip.
Fingerless gloves or specialist photography gloves are essential to operate the camera nimbly and in comfort. The Aurora is unpredictable in its speed and brightness, so expect to respond with quick adjustments to your settings. It’s worth some night-time practice with your camera before leaving home.
A sturdy tripod is a must, as is a cable or remote shutter release to prevent camera shake. This time I used the camera’s 2 second timer, but the slight delay takes away some control when your subject is moving rapidly. Tripods are provided or available for rental on some of the guided Northern Lights tours.
Use a fast, wide-angle lens in manual focus mode. It’s best to remove any filters, such as UV filters, from the front of the lens. The ZEISS Batis 18mm f2.8 lens performed beautifully for me. It fitted the bill as a light travel option, but at times I was looking for some extra width.
It’s most important to nail your focus. This is one mistake that can’t be fixed in post-processing. Manually focus to infinity, or a fraction less, depending on your lens. Get to know your lens by testing this before your trip. Check your focus by zooming into a bright star or distant object using the camera’s live view. Make a habit of checking the focus of your images once in a while in case you’ve accidentally bumped the focus ring!
The aurora appears much brighter on camera than it does to the human eye. I noticed our guides used the live view on their cameras to detect the first signs of Northern Lights activity well before it was visible to the naked eyes of the group.
Shoot in full manual mode, open your lens to its widest aperture (f/2.8 in my case), and set the ISO in the ballpark of 800-3200. I hovered around 1600 and adjusted as needed, allowing for the moonlight and the speed and strength of the aurora.
A shutter speed from a few seconds up to 15 seconds is a good workable range. Shorter exposures are best to capture detail in a bright or fast-moving Aurora. Go longer if the lights are slow moving or faint. Longer exposures will result in blurrier details in a fast-moving Aurora, and you might start to notice distracting streaks in the stars.
Lithium-ion batteries lose their charge quicker in cold conditions. Take plenty of spares and tuck them into your warm clothes to preserve the charge.
At the end of the night leave your icy cold camera & lenses in their bag until they’ve slowly acclimatised to the warmth of your vehicle or room. This avoids condensation forming inside the lens and camera after sudden changes in temperature.
It’s such a long way to travel, so what if Lady Aurora had been a no-show? It would have been a huge anticlimax, but still a great learning experience, and a fair excuse to come back! Rest assured that Tromsø has so much more to offer than just Northern Lights. It’s a stunningly beautiful area, and seven days here were very easy to fill in.
I now have the bug and chances are I’ll be back again. Touch wood it’s sooner rather than later. Best of luck if you’re also feeling the magnetism of the aurora! I’d highly recommend Tromsø as a perfect place to start.
Image specs
Images in this story were captured during October 2019. Camera: Sony A7RII. Lens: ZEISS Batis 18mm f/2.8. Settings as noted above.


Incredible pics. Michael I can feel your excitement and appreciate what study went beforehand and discomfort in freezing conditions I particularly liked aurara borealis reflected in the water
Many thanks for reading and for your kind feedback Jill! Much appreciated 🙂 M.